Sanding, Priming and Painting Our Homemade Camper
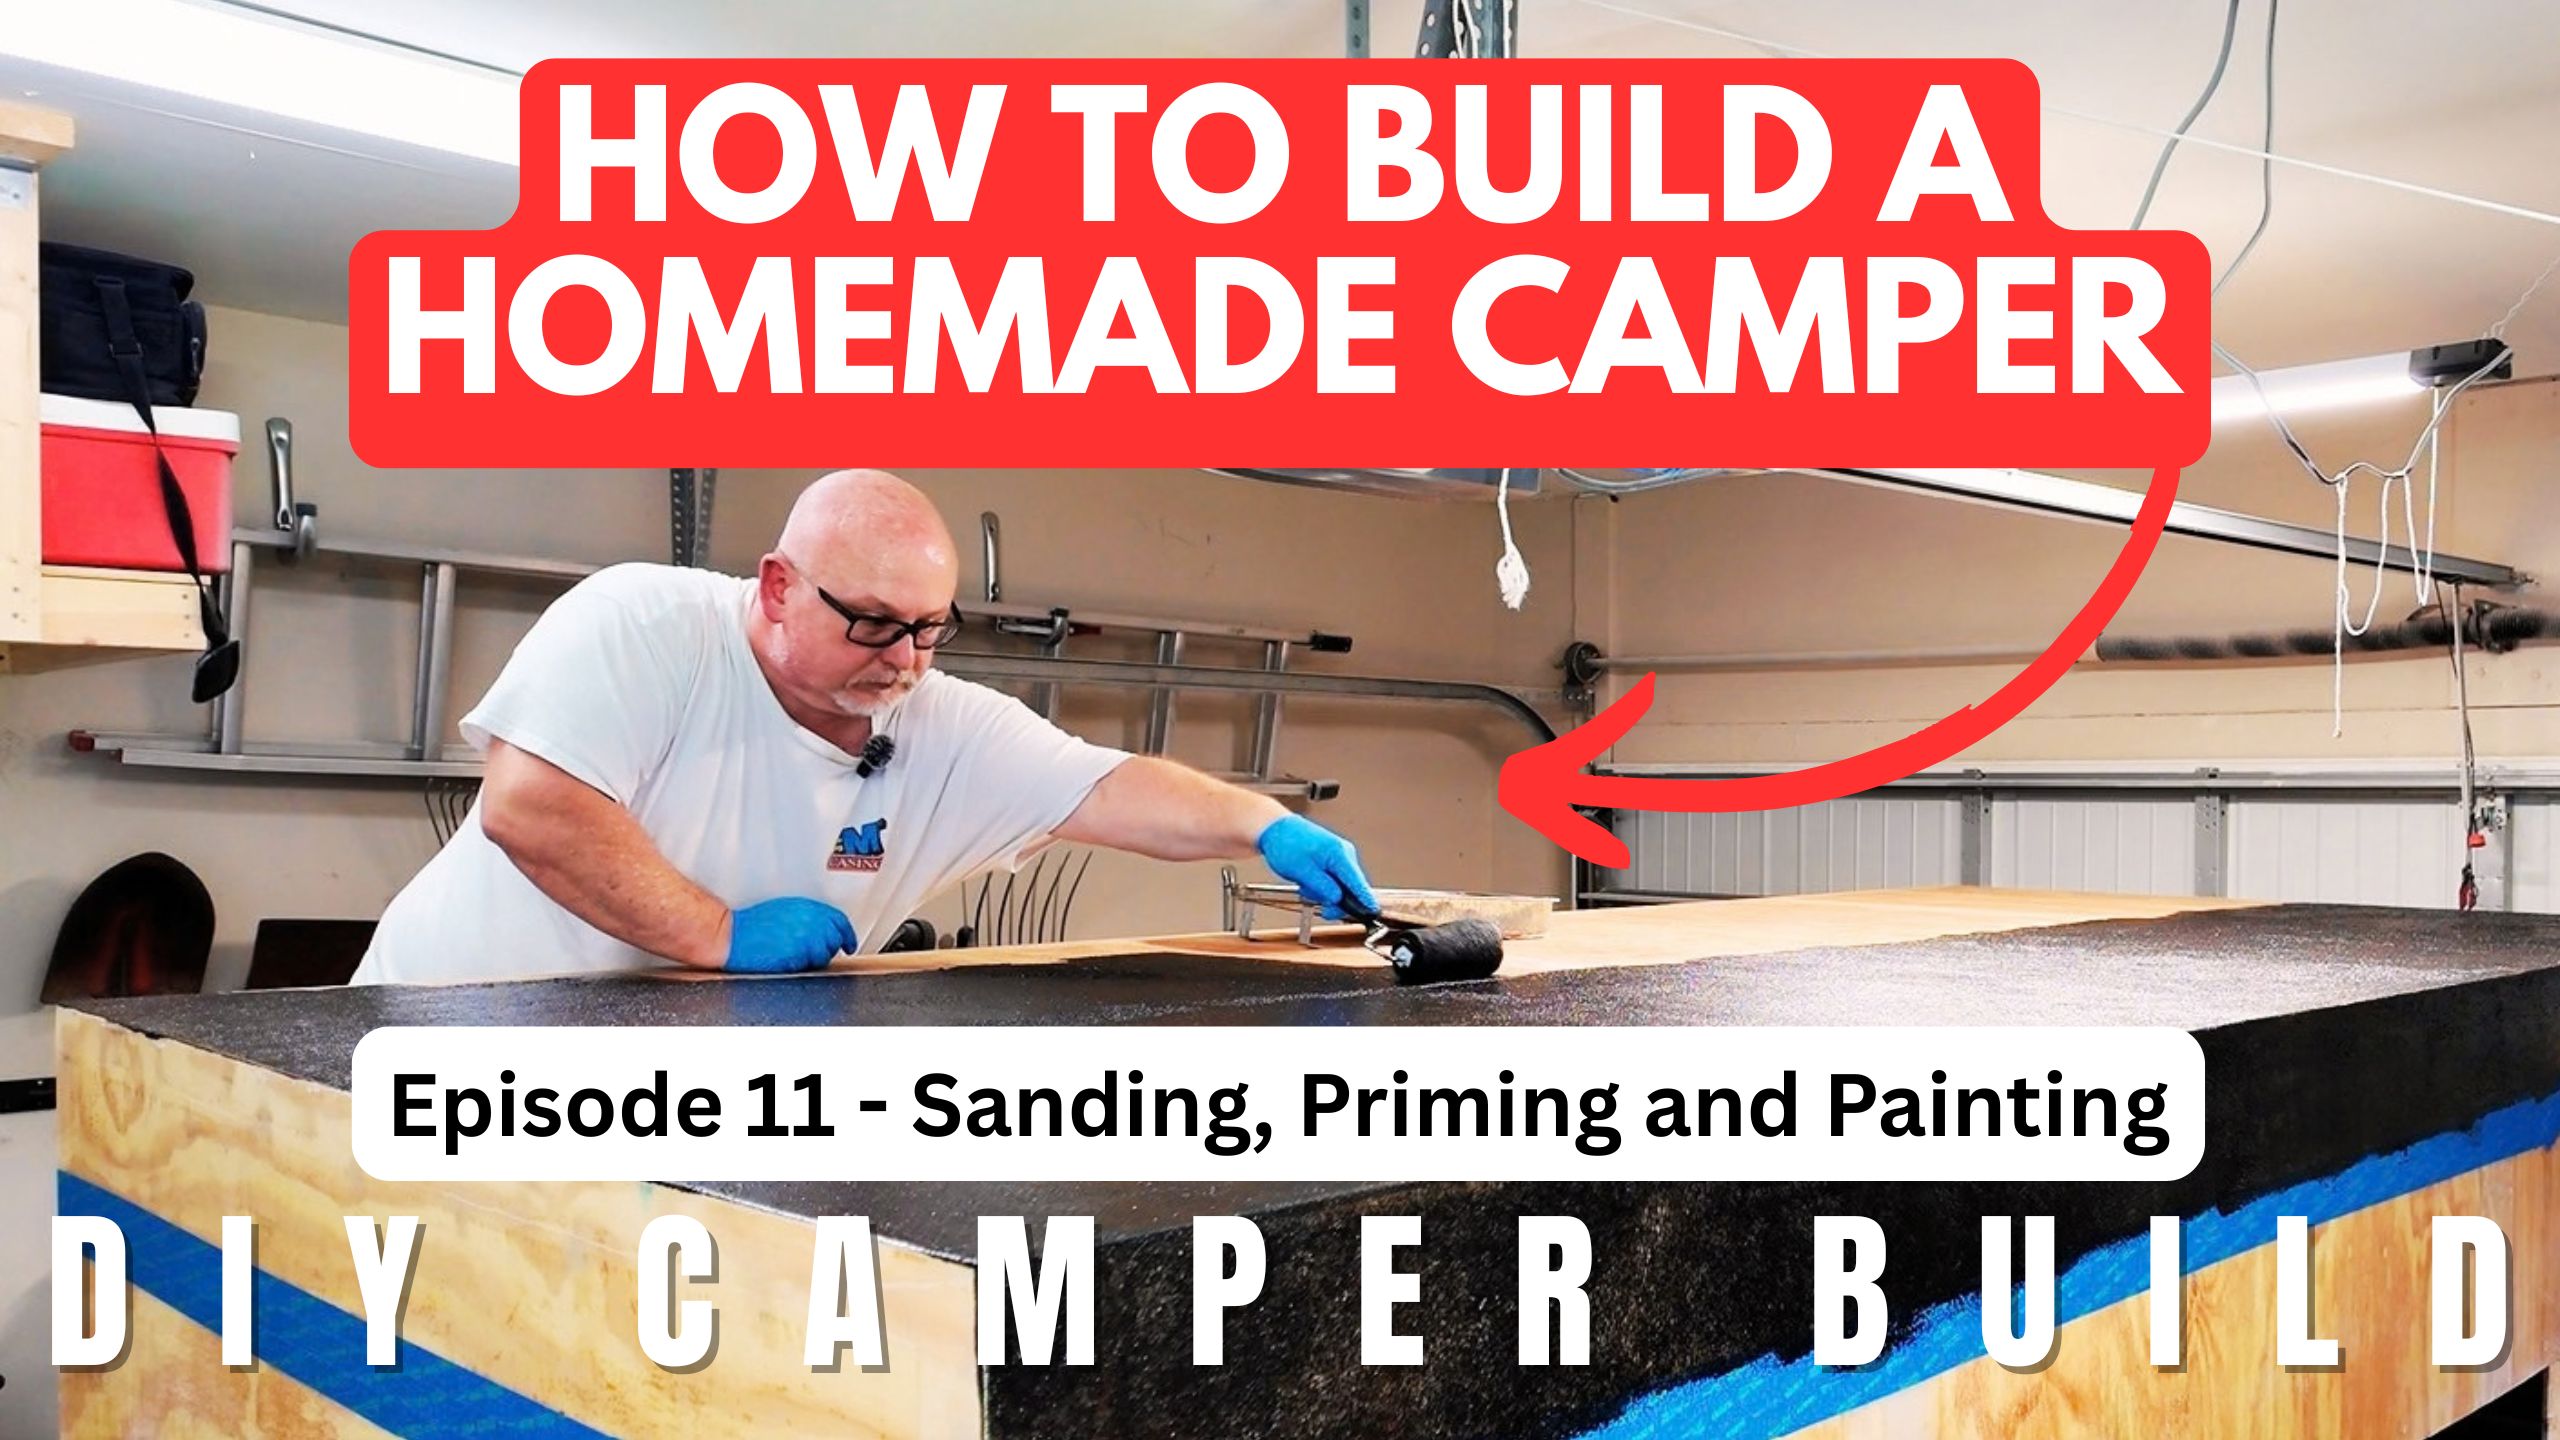
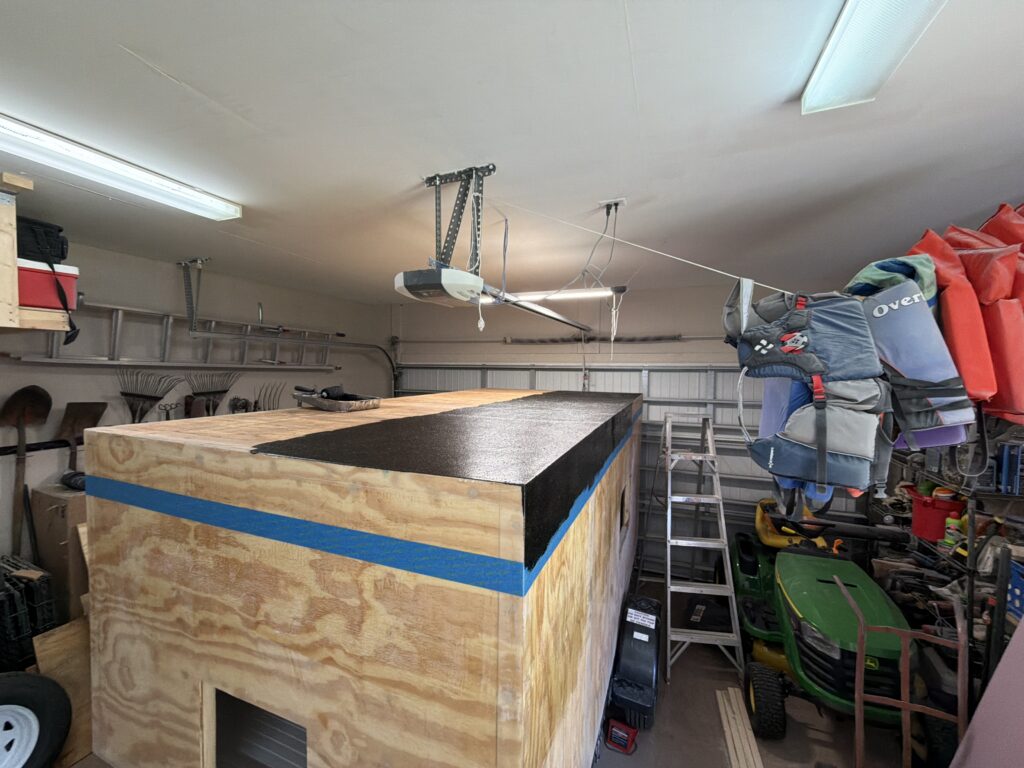
Our DIY square-drop camper build is making more progress! In Episode 11, we’re sanding, priming, and painting our homemade camper as we continue turning our 5×10 camper project into a finished build. Painting a homemade camper is an exciting milestone in our DIY build, giving the exterior a more finished look after sanding and priming.
After framing the camper, installing the exterior sheathing, working on the electrical system, and building the rear kitchen hatch, it’s time to focus on the exterior finish. Preparing the surfaces and applying primer and paint are important steps toward giving our homemade camper a clean, finished appearance.
Watch Episode 11: Sanding, Priming and Painting
Join us as we prepare and paint our homemade camper.
Watch the video: https://youtu.be/zAUoIeEXaU0
Sanding Our Homemade Camper
Sanding is an important part of preparing surfaces for primer and paint. It helps create a more consistent surface and can remove rough areas left from earlier construction.
The appropriate sanding method depends on the material and the coating system being used. Follow the manufacturer’s recommendations for surface preparation, and make sure the surface is clean and free from dust before applying primer.
Pay attention to edges, corners, joints, and areas where different materials meet. These locations can require additional preparation to achieve a consistent finish.
Use suitable eye protection and respiratory protection for the materials and sanding method, and control dust as much as practical.
Priming the Camper Before Painting
Primer helps prepare a surface for the selected paint system. The correct primer depends on the underlying material, any existing coatings, and the type of topcoat being applied.
Before priming, check that the surface is properly prepared and that the primer is compatible with the substrate and finish coat. Follow the product instructions for application conditions, coverage, drying time, and any required sanding between coats.
Taking time to prepare the surface and apply primer correctly can help the final paint finish look more uniform.
Painting a Homemade Camper
Painting is an exciting milestone because it gives the camper a more finished look and brings the exterior design together.
For a durable finish, use a paint system appropriate for the camper’s exterior materials and expected outdoor exposure. Follow the manufacturer’s directions for application, temperature, recoat times, and curing.
Consistent surface preparation and careful application are important for achieving an even appearance. Edges, corners, and transitions deserve attention so that the finish is as consistent as possible across the camper.
Allow the coating to cure as directed before handling the surface extensively or moving on to work that could damage the new finish.
Bringing Our DIY Camper Build Together
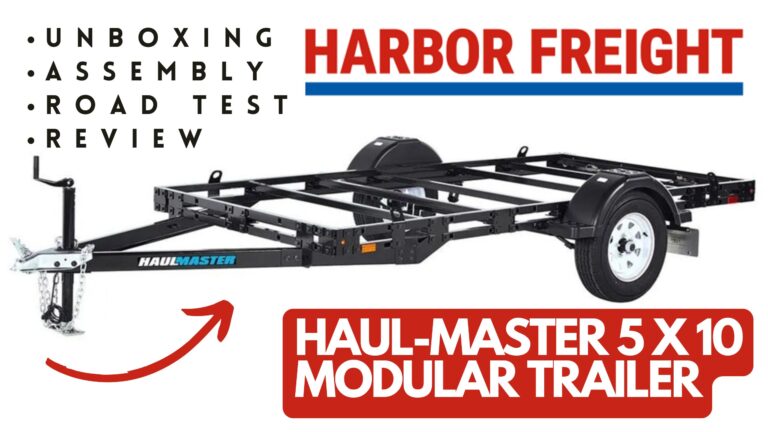
Sanding, priming, and painting help move our homemade camper closer to completion. Each stage of this project builds on the work completed in the earlier episodes, from the Harbor Freight 5×10 trailer and camper framing to the interior and rear kitchen hatch.
We’re documenting our progress so other DIY builders can follow along, see how the project develops, and gather ideas for their own homemade camper builds.
Follow Our Homemade Camper Build Series
Catch up on the earlier stages of our project:
- Building a Harbor Freight 5×10 Trailer for Our DIY Camper Build
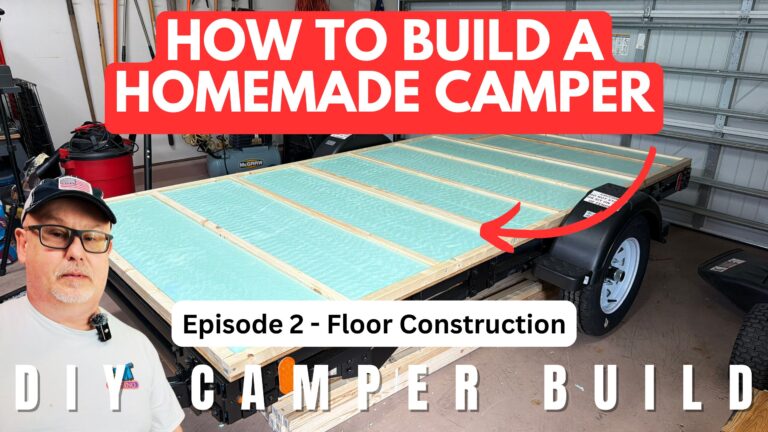
- Building the Floor for Our DIY 5×10 Homemade Camper
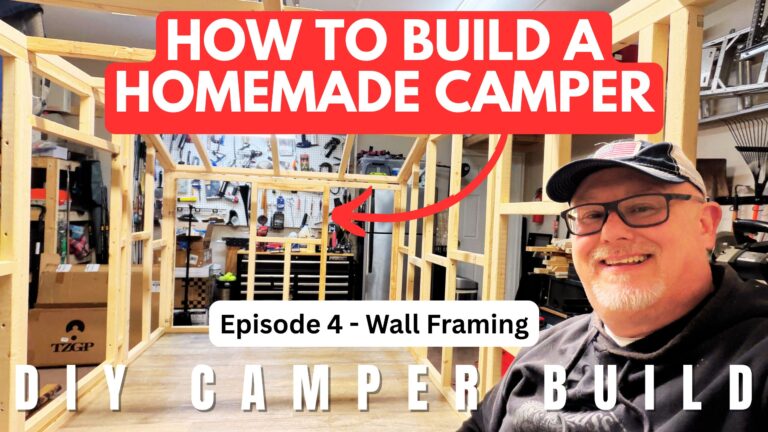
- Framing the Walls on Our Homemade Camper Trailer
- Finishing the Wall and Roof Framing on Our Homemade Camper
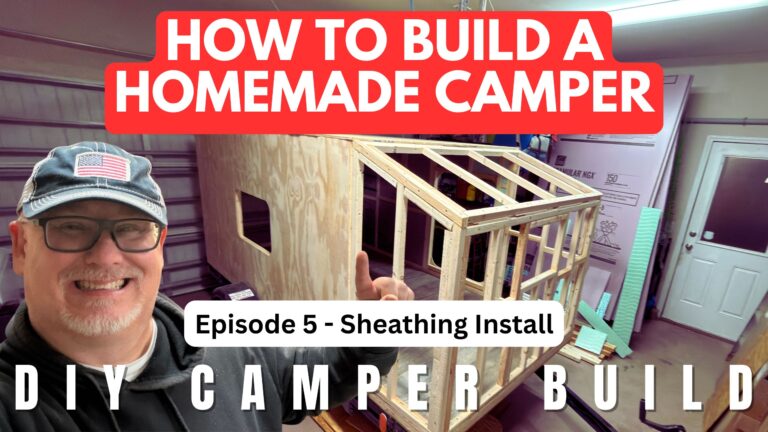
- Installing Exterior Sheathing on Our Homemade Camper
- Installing Exterior Sheathing and Insulation on Our Homemade Camper
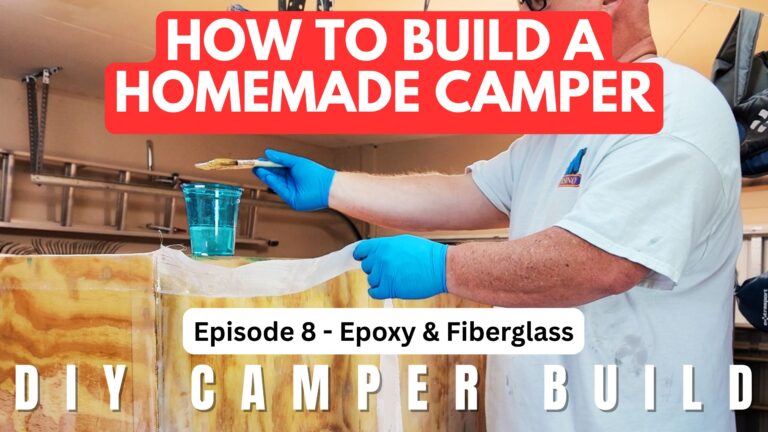
- Homemade Camper Electrical System, Exterior Epoxy and Rear Kitchen Door
- DIY Camper Build Episode 8: Fiberglassing the Homemade Camper and Finishing the Bottom
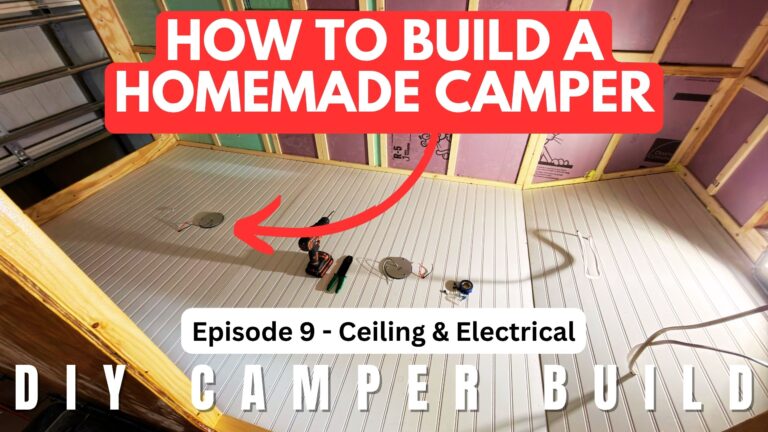
- DIY Camper Build Episode 9: Ceiling Paneling and Electrical Wiring
- Building Our Rear Kitchen Hatch Door from Scratch
In the next episode, we install mounting brackets, a roof vent, wall paneling, and a window as we continue building our homemade camper.
Visit our DIY Camper Build page to explore the series and watch more of our build videos.
More Homemade Camper Build Updates
We’re sharing the process of building our own square-drop camper one step at a time. Follow along to see the progress, learn about the different stages of construction, and get ideas for your own homemade camper project.
Want to see how our homemade camper looks out in the real world? Watch our DIY camper build tour from our first camping trip to Little Pee Dee State Park.
Watch the video and subscribe to our YouTube channel to follow the next steps in our camper build.