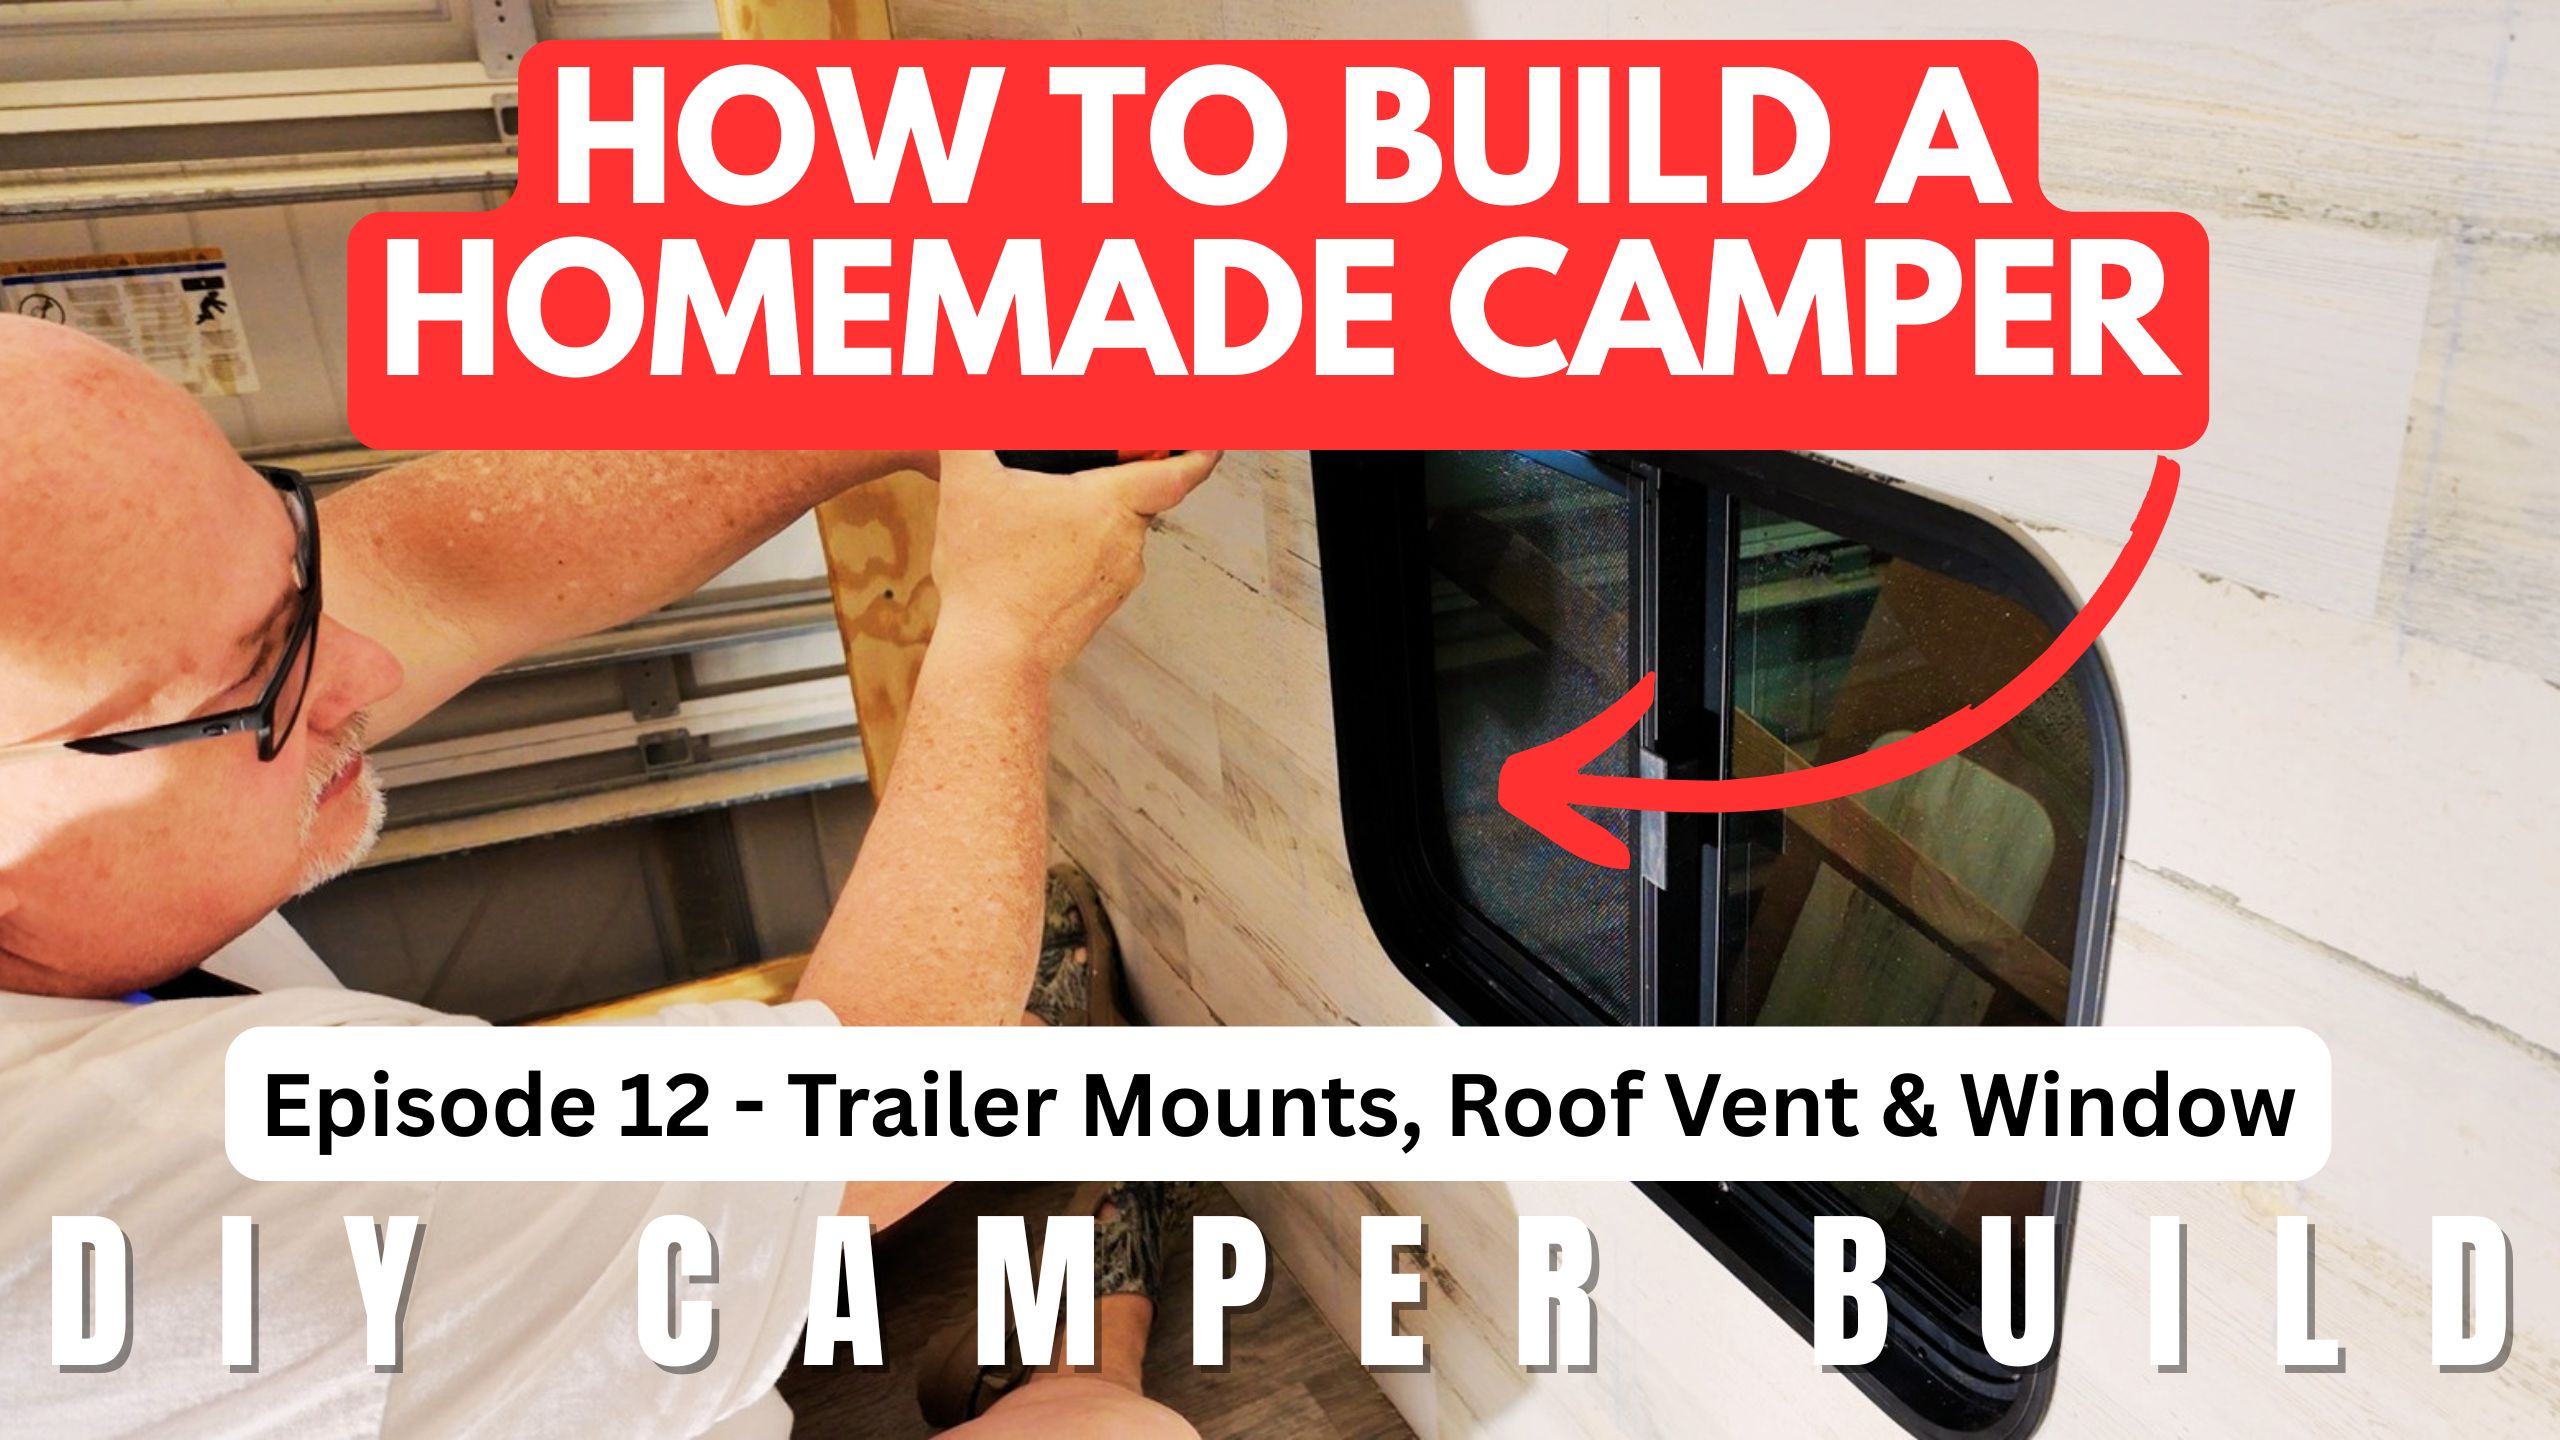
DIY Camper Build Episode 12: Mounting Brackets, Roof Vent, Wall Paneling and Window Installation
Our homemade camper build continues as we make progress on several important exterior and interior details. In Episode 12, we’re working on mounting brackets, installing a roof vent, adding wall paneling, and fitting a window in our DIY 5×10 square-drop camper. Our DIY camper roof vent installation is one of several upgrades helping us move closer to completing our homemade square-drop camper.
These steps help move our homemade camper closer to a finished, functional build. The roof vent and window are important features for ventilation and natural light, while the wall paneling helps complete the camper’s interior.
Watch Episode 12 of Our Homemade Camper Build
Follow along as we work on the mounting brackets, roof vent, wall paneling, and window installation.
Watch the video: https://youtu.be/cMeH50V7TuI
Installing Mounting Brackets on Our DIY Camper
Mounting brackets are an important part of many camper construction projects. Depending on their intended purpose, brackets can help secure components and provide attachment points for hardware or accessories.
When installing brackets, consider the loads they will carry, the material they’re attached to, and how the fasteners engage with the camper’s structure. The mounting method should be suitable for the intended use and the materials involved.
Careful measuring and positioning can help ensure that brackets are aligned properly and don’t interfere with other parts of the camper.
DIY Camper Roof Vent Installation
A roof vent can help provide ventilation inside a compact camper. Ventilation is especially useful when a camper is occupied, although the appropriate ventilation arrangement depends on the camper’s layout and intended use.
Before installing a roof vent, verify the opening size, placement, and clearance requirements for the specific vent being used. Follow the manufacturer’s instructions for cutting the opening, securing the vent, and sealing the roof to help prevent water intrusion.
Pay particular attention to the roof structure and any nearby wiring. The finished installation should be secure, properly sealed, and compatible with the camper’s roof construction.
Adding Wall Paneling to the Camper Interior
Wall paneling helps cover the interior framing and gives the camper a more finished appearance. It also provides the interior surfaces that you’ll see and use during camping trips.
Before installing panels, consider the locations of windows, wiring, fasteners, and other components that need to pass through or attach to the walls. Measuring and test-fitting the panels can help avoid unnecessary adjustments later.
The paneling and fastening method should be suitable for the camper’s construction and expected travel conditions. Take care to avoid damaging concealed wiring or other components as the panels are secured.
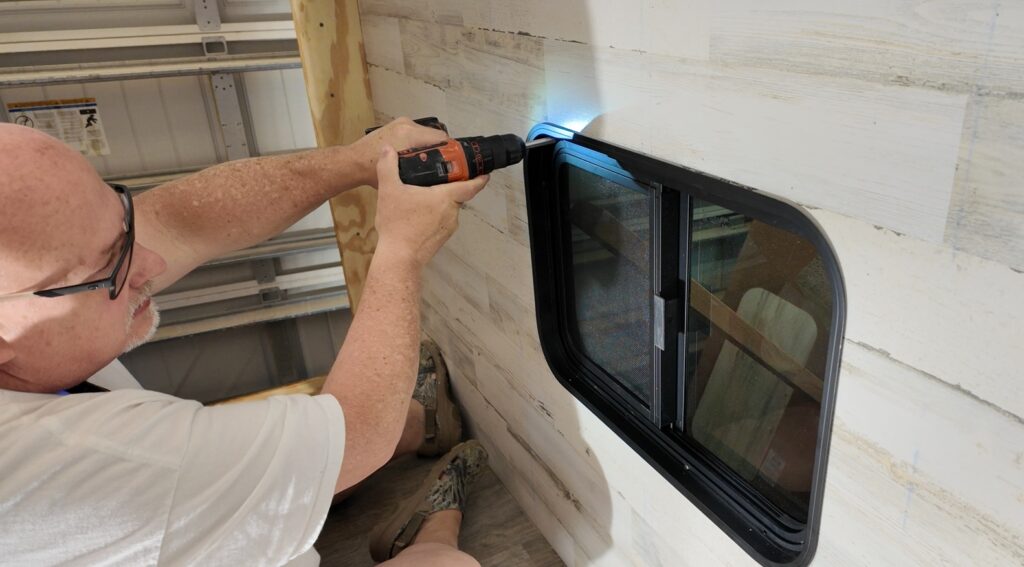
Installing a Window in Our Homemade Camper
A window brings natural light into the camper and can make the interior feel more open. Depending on the design, an opening window may also contribute to ventilation.
Window installation requires careful attention to the opening dimensions, fit, mounting instructions, and weather sealing. Follow the window manufacturer’s directions for the required opening, fasteners, sealant, and installation sequence.
Check that the window fits properly before completing the installation. The surrounding structure and seals should be suitable for the window and the conditions the camper will experience on the road.
Bringing More Features Into Our DIY Camper Build
Mounting brackets, a roof vent, wall paneling, and a window are all important additions to our homemade camper project. Each task brings us closer to a usable camper while helping us work toward a more complete interior and exterior.
We’re documenting the process of building our square-drop camper on a Harbor Freight 5×10 Modular Trailer so other DIY builders can follow along and see how the project develops.
Follow Our Homemade Camper Build Series
Catch up on the earlier stages of our project:
- Building a Harbor Freight 5×10 Trailer for Our DIY Camper Build
- Building the Floor for Our DIY 5×10 Homemade Camper
- Framing the Walls on Our Homemade Camper Trailer
- Finishing the Wall and Roof Framing on Our Homemade Camper
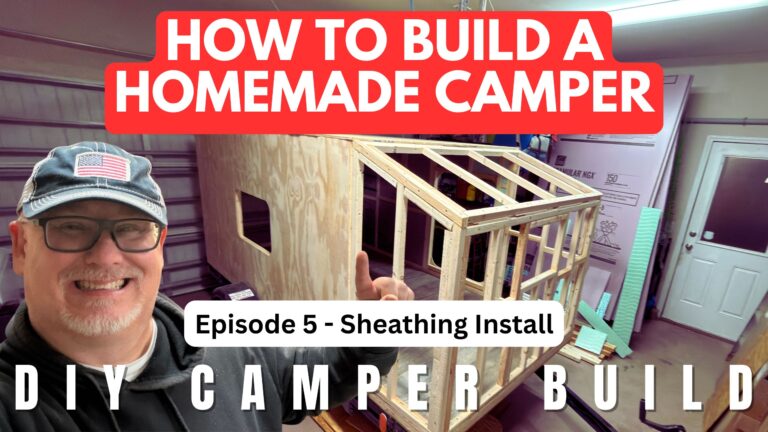
- Installing Exterior Sheathing on Our Homemade Camper
- Installing Exterior Sheathing and Insulation on Our Homemade Camper
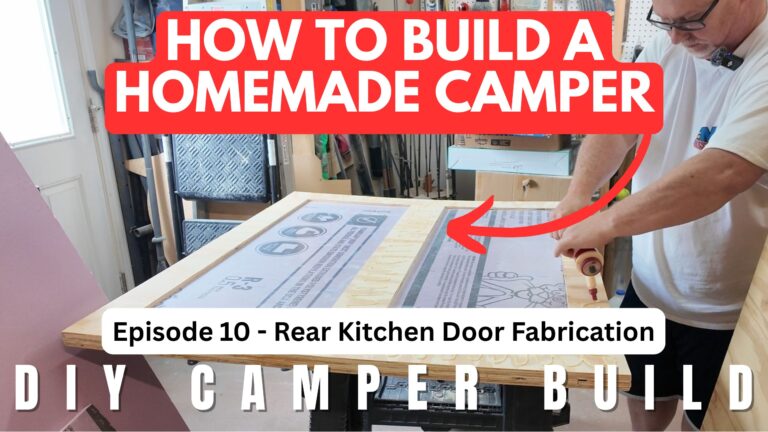
- Homemade Camper Electrical System, Exterior Epoxy and Rear Kitchen Door
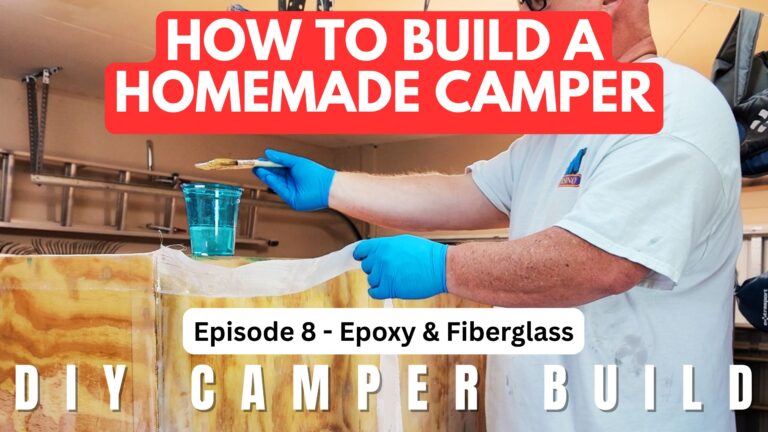
- DIY Camper Build Episode 8: Fiberglassing the Homemade Camper and Finishing the Bottom
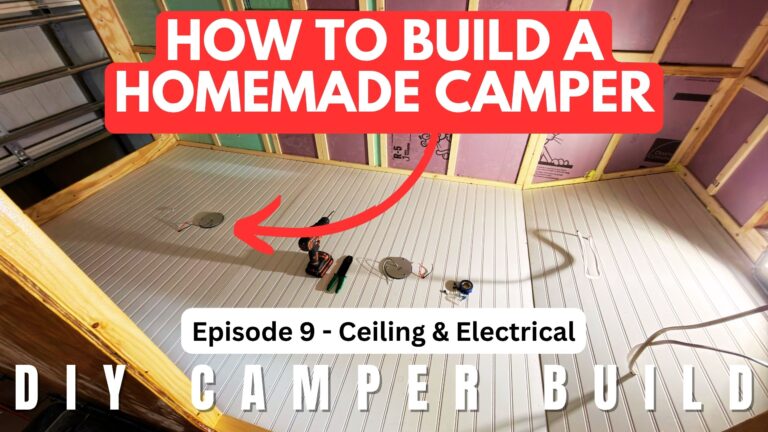
- DIY Camper Build Episode 9: Ceiling Paneling and Electrical Wiring
- Building Our Rear Kitchen Hatch Door from Scratch
- Sanding, Priming and Painting Our Homemade Camper
Visit our DIY Camper Build page to follow the series and watch more of our build videos.
More Homemade Camper Build Updates
We’re sharing our progress one stage at a time, including the challenges and lessons involved in building a camper from scratch. Follow along for more updates as we continue turning our DIY square-drop camper into a practical setup for camping and outdoor adventures.
Watch the video and subscribe to our YouTube channel to follow the next steps in our homemade camper build.