Homemade Camper Electrical System, Exterior Epoxy and Rear Kitchen Door
Our homemade camper build is moving forward! In this stage of our DIY square-drop camper project, we work on several important details that help turn our framed camper into a more functional, weather-resistant tiny camper. Our homemade camper electrical system is taking shape as we continue protecting the exterior and working on the rear kitchen door.
In this episode, we work on the camper electrical system, apply exterior epoxy to protect the plywood, and work on the rear kitchen door for our 5×10 homemade camper. Each step brings us closer to a camper that is ready for camping adventures.
Watch the Homemade Camper Build Video
Watch as we continue building our homemade camper, including the electrical system, exterior epoxy work, and rear kitchen door.
Video: https://youtu.be/J55X2pdy9dQ
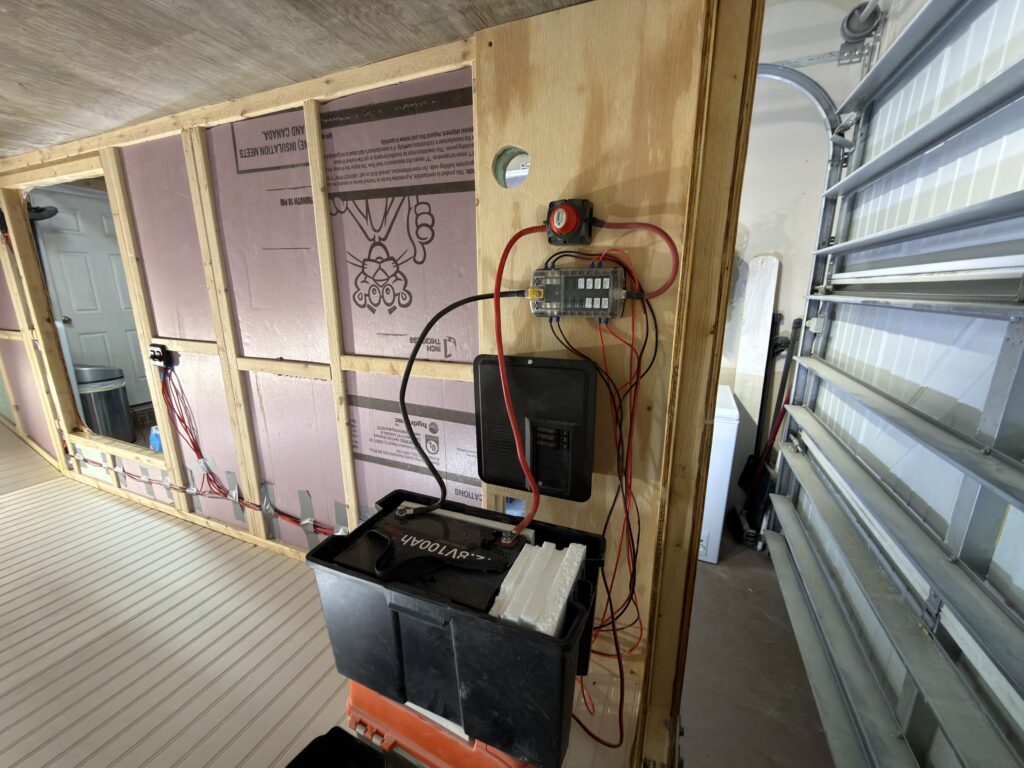
Homemade Camper Electrical System Installation
Adding an electrical system is an important milestone in a DIY camper build. Even a small camper can benefit from carefully planned electrical circuits for lighting, outlets, and other equipment.
When planning a camper electrical system, consider the equipment you intend to operate, the available power sources, circuit protection, wire sizing, and access to electrical components for future maintenance.
The electrical layout should also account for the limited space inside a compact 5×10 camper. Planning the locations of electrical components early can help keep the installation organized and make future troubleshooting easier.
Electrical installations should follow applicable electrical codes and equipment instructions. Verify wire sizes, circuit protection, grounding, and connections for the specific system being installed.
Applying Exterior Epoxy to the Homemade Camper
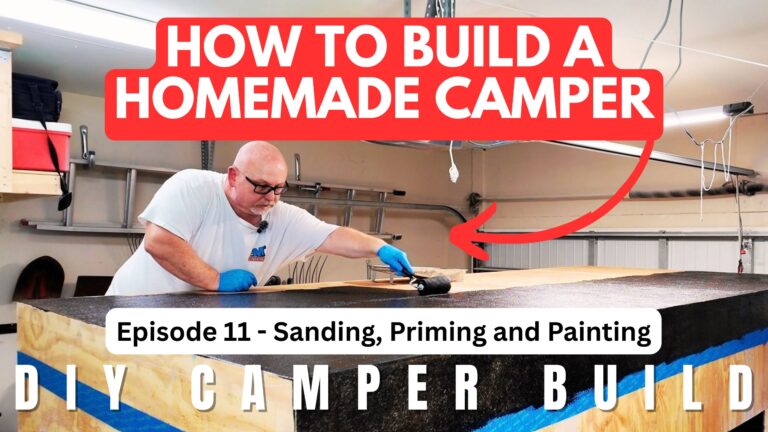
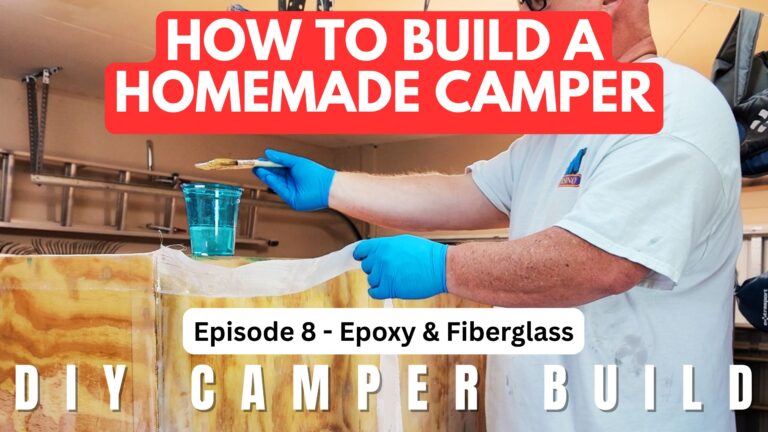
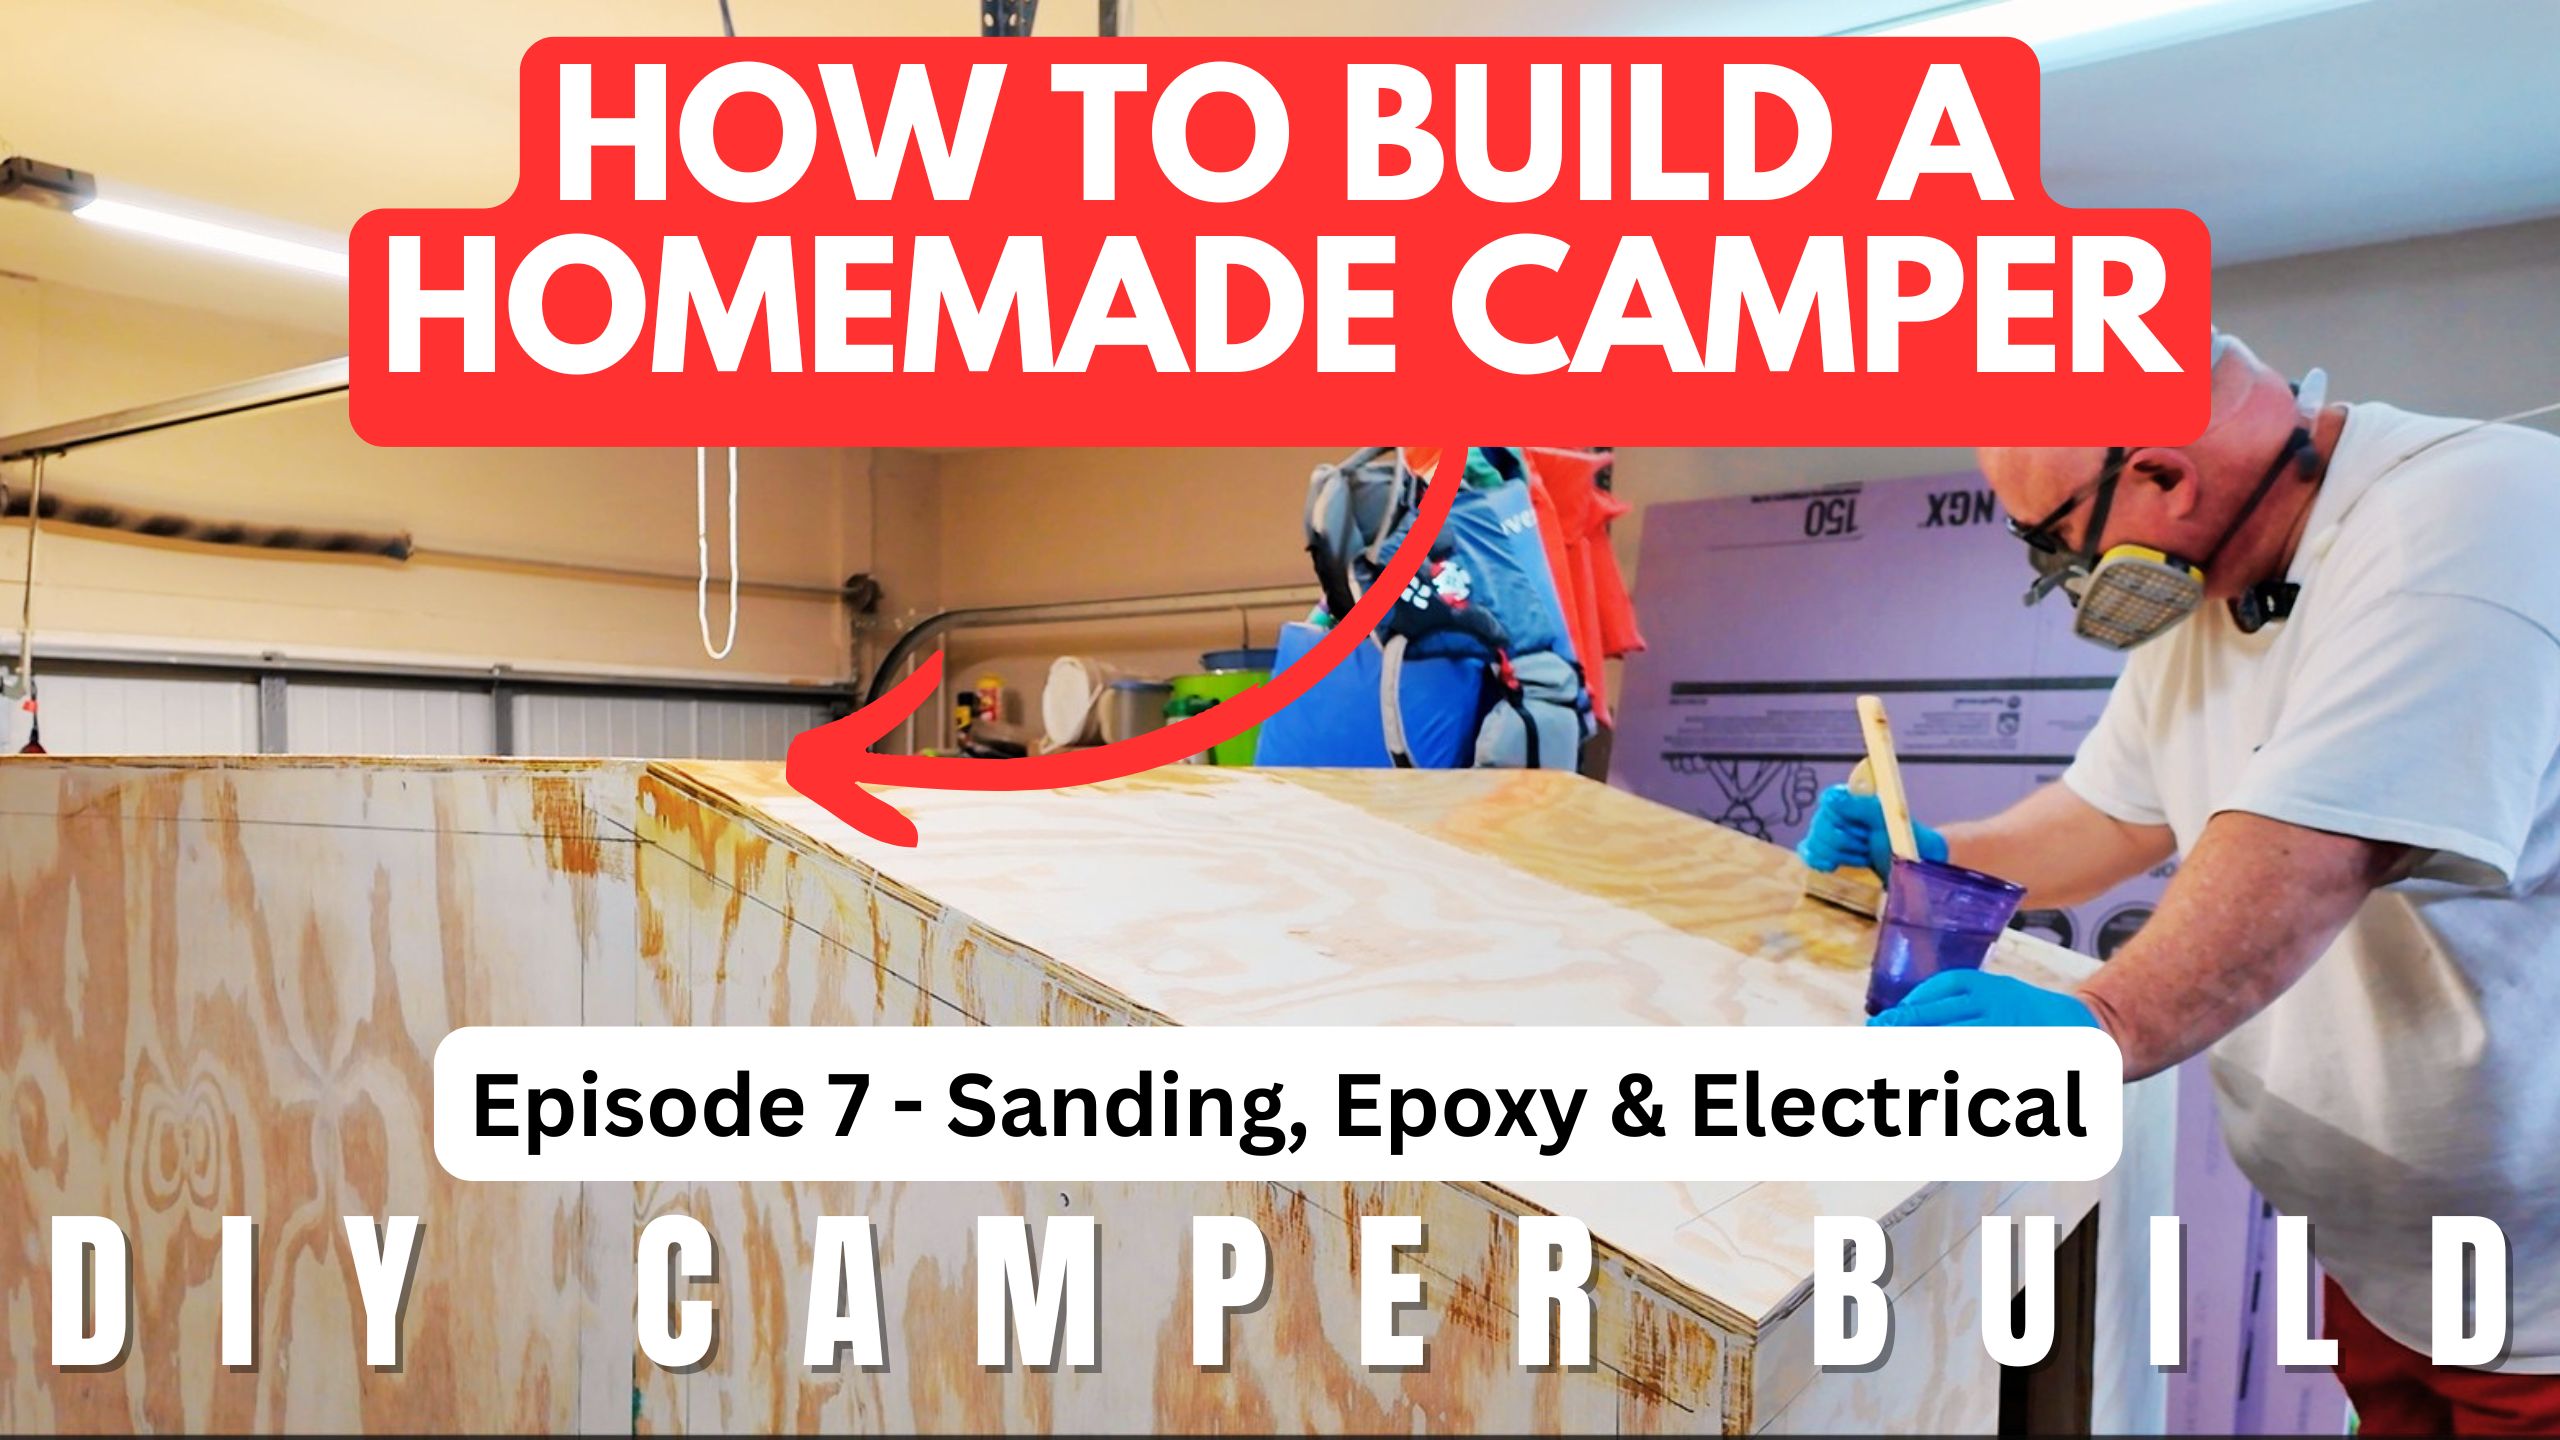
Protecting the exterior plywood is another important part of our homemade camper project. Exterior epoxy can help seal compatible plywood surfaces and reduce moisture penetration when applied correctly as part of an appropriate finishing system.
Surface preparation is essential. Follow the manufacturer’s directions for sanding, cleaning, mixing, application temperature, coverage, and curing time. Pay particular attention to edges, seams, joints, and other areas where moisture could enter.
Epoxy alone should not automatically be considered a complete exterior finish. The finished surface needs to be compatible with the epoxy system and suitable for prolonged outdoor exposure. Follow the product instructions for any required UV-resistant topcoat or paint.
Taking the time to prepare and protect the exterior now can help improve the durability of the camper as we continue toward the finished build.
Building and Installing the Rear Kitchen Door
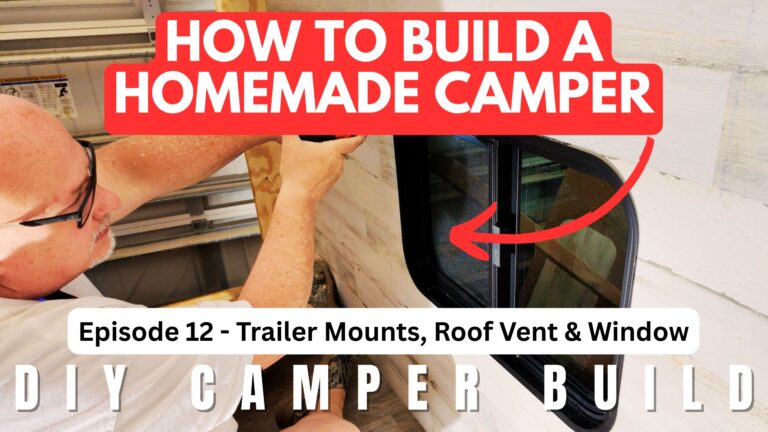
One of the useful features of our square-drop camper design is the rear kitchen area. The rear kitchen door provides access to this space and is an important part of making the camper practical for cooking and storing supplies.
When constructing a rear kitchen door or hatch, consider how it will open, how much clearance it needs, how the hinges will be supported, and how the door will be secured during travel.
Weather protection is also important. The design should account for water runoff, suitable seals, and the fit between the door and the surrounding frame. Hardware and support arrangements should be appropriate for the door’s weight and intended use.
A well-planned rear kitchen door can make the galley easier to access while helping protect the storage and cooking area when the camper is parked or being towed.
Following Our DIY Camper Build
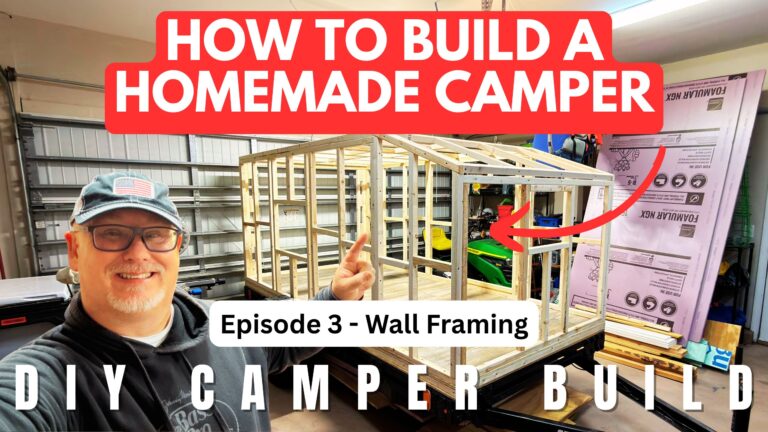
This project is a step-by-step look at building a homemade camper on a Harbor Freight 5×10 Modular Trailer. We’re documenting the process so other DIY builders can follow along, learn from our experience, and plan their own camper projects.
Catch up on the earlier stages of our build:
- Building a Harbor Freight 5×10 Trailer for Our DIY Camper Build
- Building the Floor for Our DIY 5×10 Homemade Camper
- Framing the Walls on Our Homemade Camper Trailer
- Finishing the Wall and Roof Framing on Our Homemade Camper
- Installing Exterior Sheathing on Our Homemade Camper
- Installing Exterior Sheathing and Insulation on Our Homemade Camper
In the next episode, we fiberglass our homemade camper and finish the bottom of the camper body.
Visit our DIY Camper Build page to follow the series and see more of the project.
Follow Along With Our Homemade Camper Project
We’re sharing the progress, challenges, and lessons from building our own square-drop camper. Follow along as we continue working toward a compact camper designed for camping trips and outdoor adventures.
Watch the video, explore the earlier build stages, and subscribe to our YouTube channel to follow the next steps in our homemade camper build.