DIY Camper Build Episode 8: Fiberglassing the Homemade Camper and Finishing the Bottom
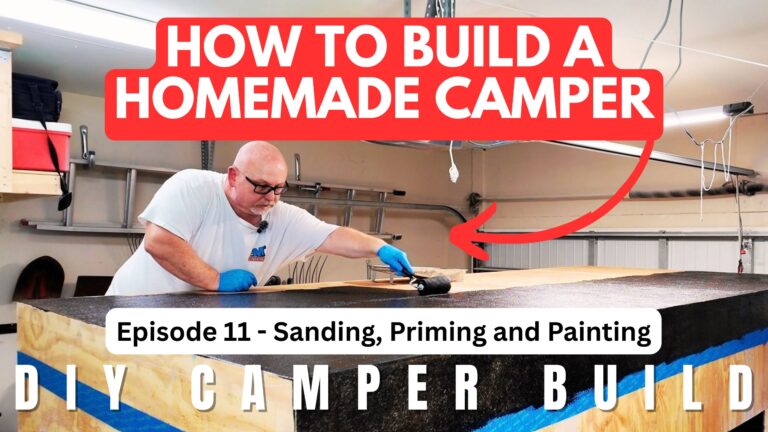
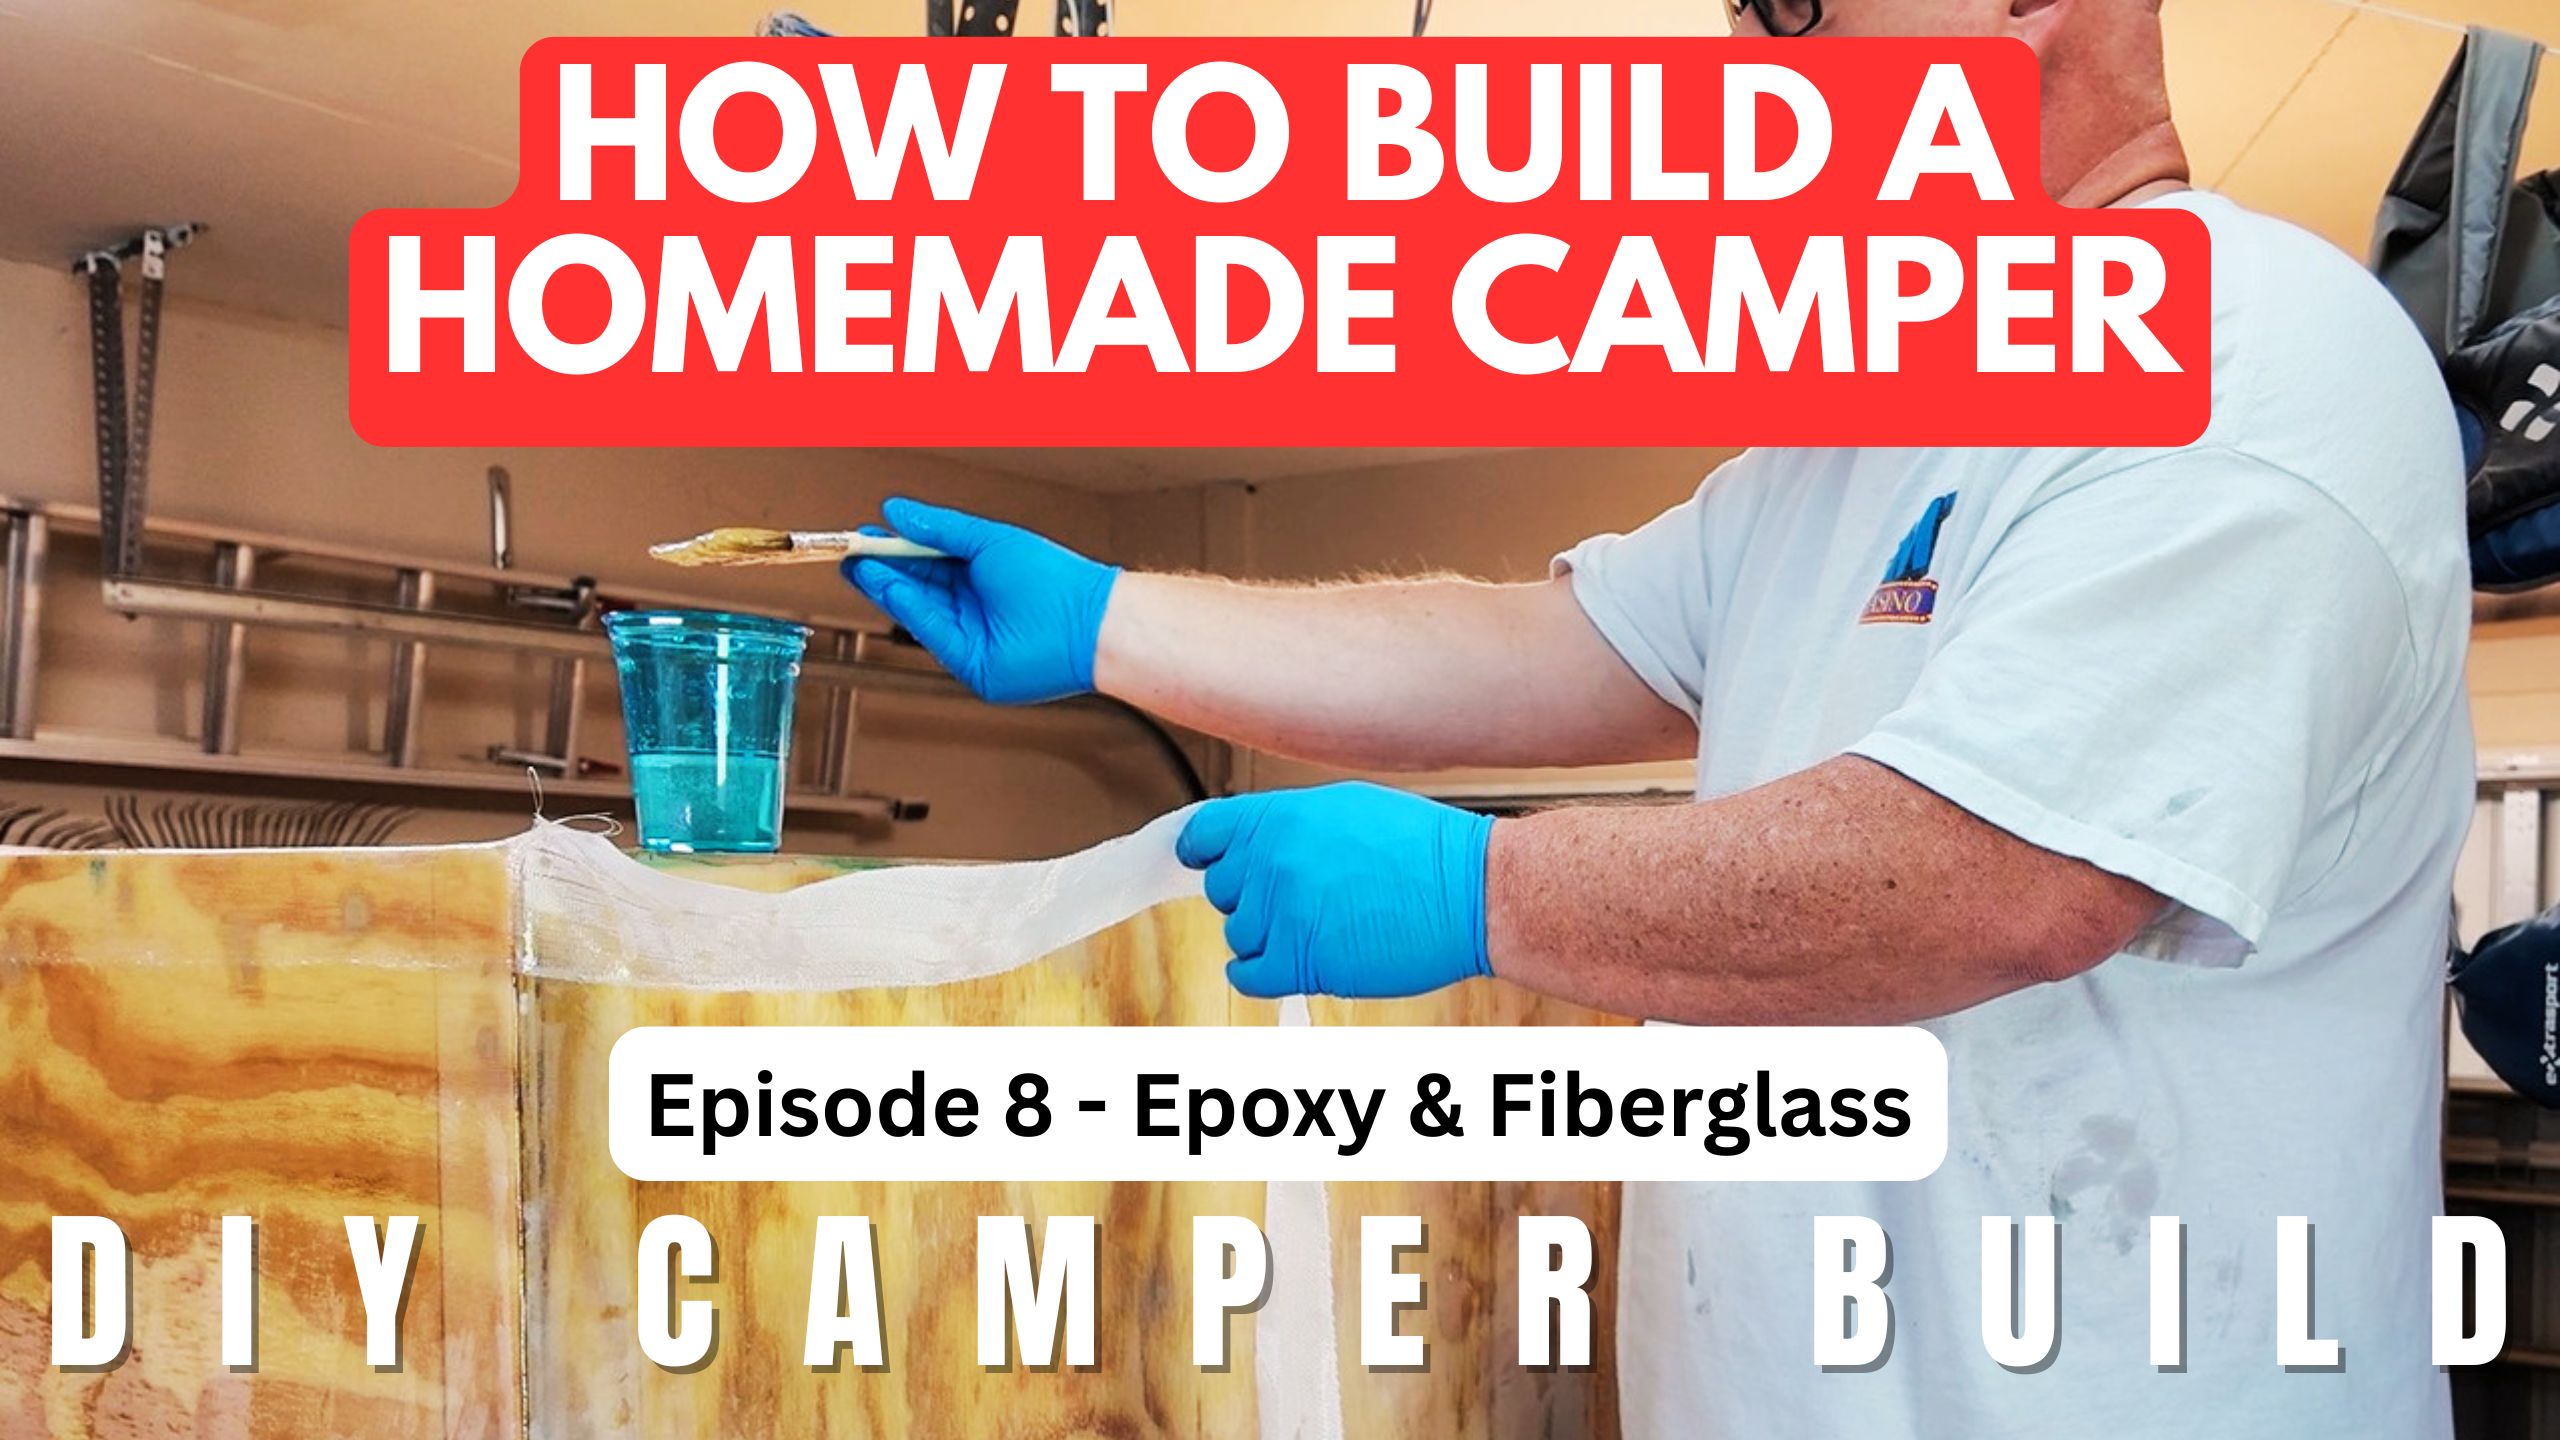
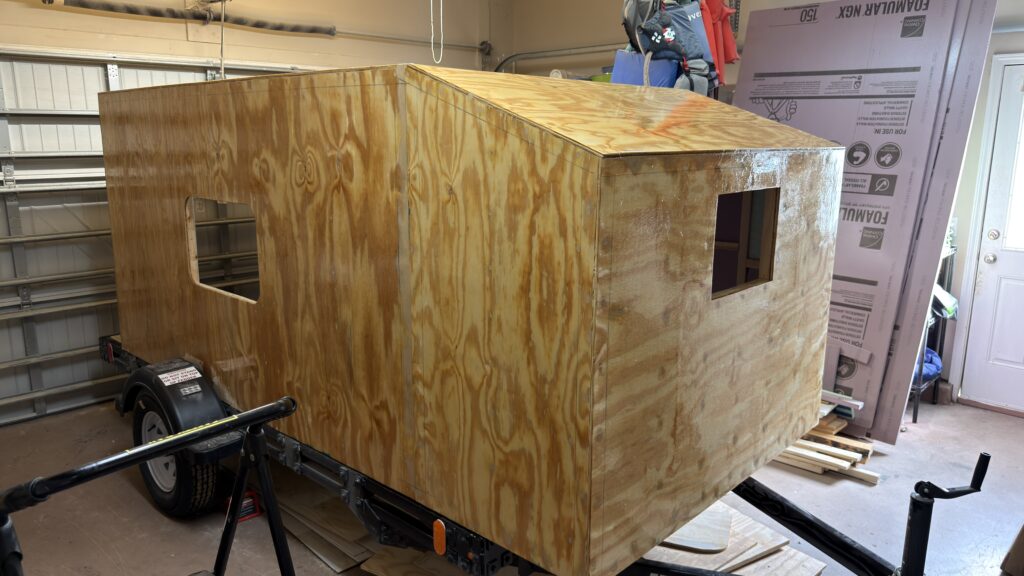
We’re continuing our DIY homemade camper build! In Episode 8, we work on fiberglassing the camper and finishing the bottom of our 5×10 square-drop camper. These steps are important for protecting the plywood structure and preparing our homemade camper for the next stages of construction. Our DIY camper fiberglassing work is an important step in protecting the plywood structure and finishing the underside of our homemade camper.
Building a camper from scratch involves more than framing walls and installing a roof. Protecting the exterior surfaces, seams, and underside is also an important part of creating a durable camper for camping adventures.
Watch Episode 8 of Our DIY Camper Build
In this episode, follow along as we fiberglass the homemade camper and work on finishing the bottom of the camper body.
Watch the video: https://youtu.be/Vn9xx9uqMBs
DIY Camper Fiberglassing
Fiberglassing is an important stage in many DIY camper projects, particularly when plywood forms part of the camper’s exterior structure. When used with a compatible resin system, fiberglass cloth can help reinforce and protect suitable surfaces.
Proper preparation is important before applying fiberglass. The surface should be prepared according to the resin and fiberglass manufacturer’s instructions, and the materials should be compatible with the substrate and one another.
Pay particular attention to seams, corners, and transitions between panels. These areas need appropriate preparation and coverage to help create a continuous protective surface.
Always follow the product instructions for mixing, application, temperature, curing time, and personal protective equipment. The exact process depends on the materials being used.
Finishing the Bottom of the Homemade Camper
The underside of a camper can be exposed to road spray, moisture, dirt, and debris during travel. Finishing this area is therefore an important part of protecting the camper’s structure.
When working on the bottom of a DIY camper, consider how the finish will protect the plywood and framing, how exposed edges and joints will be sealed, and whether the chosen coating is suitable for the conditions the camper will encounter.
Before covering the underside, make sure any wiring or other components that need inspection or maintenance remain accessible. Allow coatings and adhesives to cure as directed before moving on to subsequent construction stages.
Careful attention to the underside now can help reduce potential moisture problems and make the camper easier to maintain over time.
Why Fiberglass and Underside Protection Matter
A homemade camper needs to withstand more than the conditions inside a garage or workshop. Rain, road spray, changing temperatures, and repeated travel can all affect the materials used in the build.
Fiberglass and suitable protective coatings can play a role in protecting compatible surfaces, but the overall result depends on proper preparation, compatible materials, complete coverage, and appropriate finishing.
These steps are part of the process of turning our framed camper into a more complete and practical square-drop camper.
Follow Our Homemade Camper Build Series
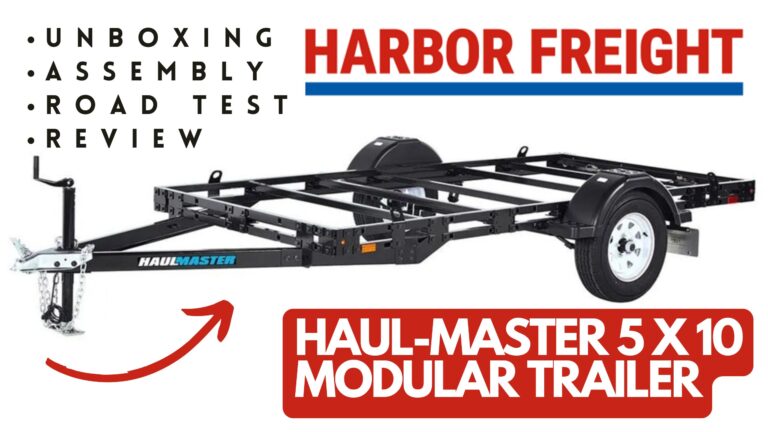
We’re documenting the process of building our own camper on a Harbor Freight 5×10 Modular Trailer. Each episode covers another stage of the project, sharing our progress and the lessons we learn along the way.
Catch up on the earlier episodes:
- Building a Harbor Freight 5×10 Trailer for Our DIY Camper Build
- Building the Floor for Our DIY 5×10 Homemade Camper
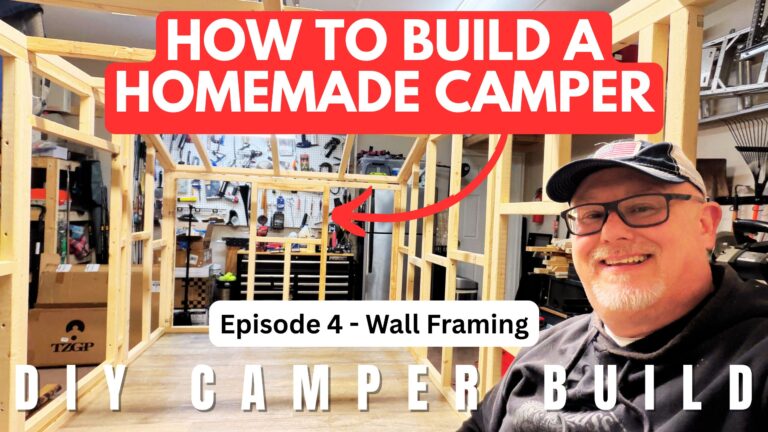
- Framing the Walls on Our Homemade Camper Trailer
- Finishing the Wall and Roof Framing on Our Homemade Camper
- Installing Exterior Sheathing on Our Homemade Camper
- Installing Exterior Sheathing and Insulation on Our Homemade Camper
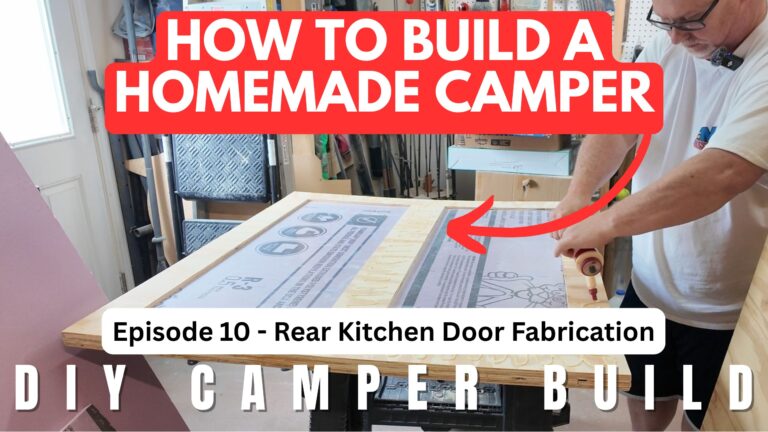
- Homemade Camper Electrical System, Exterior Epoxy and Rear Kitchen Door
In the next episode, we install the ceiling paneling and continue working on the electrical wiring in our homemade camper.
Visit our DIY Camper Build page to follow the project and see more of our build videos.
More Homemade Camper Build Updates
Our DIY square-drop camper project continues as we work through the construction process one step at a time. Follow along to see the progress, learn about the different stages, and get ideas for your own homemade camper.
Watch the video, explore the previous episodes, and subscribe to our YouTube channel to follow the next steps in our camper build.