DIY Camper Build Episode 9: Ceiling Paneling and Electrical Wiring
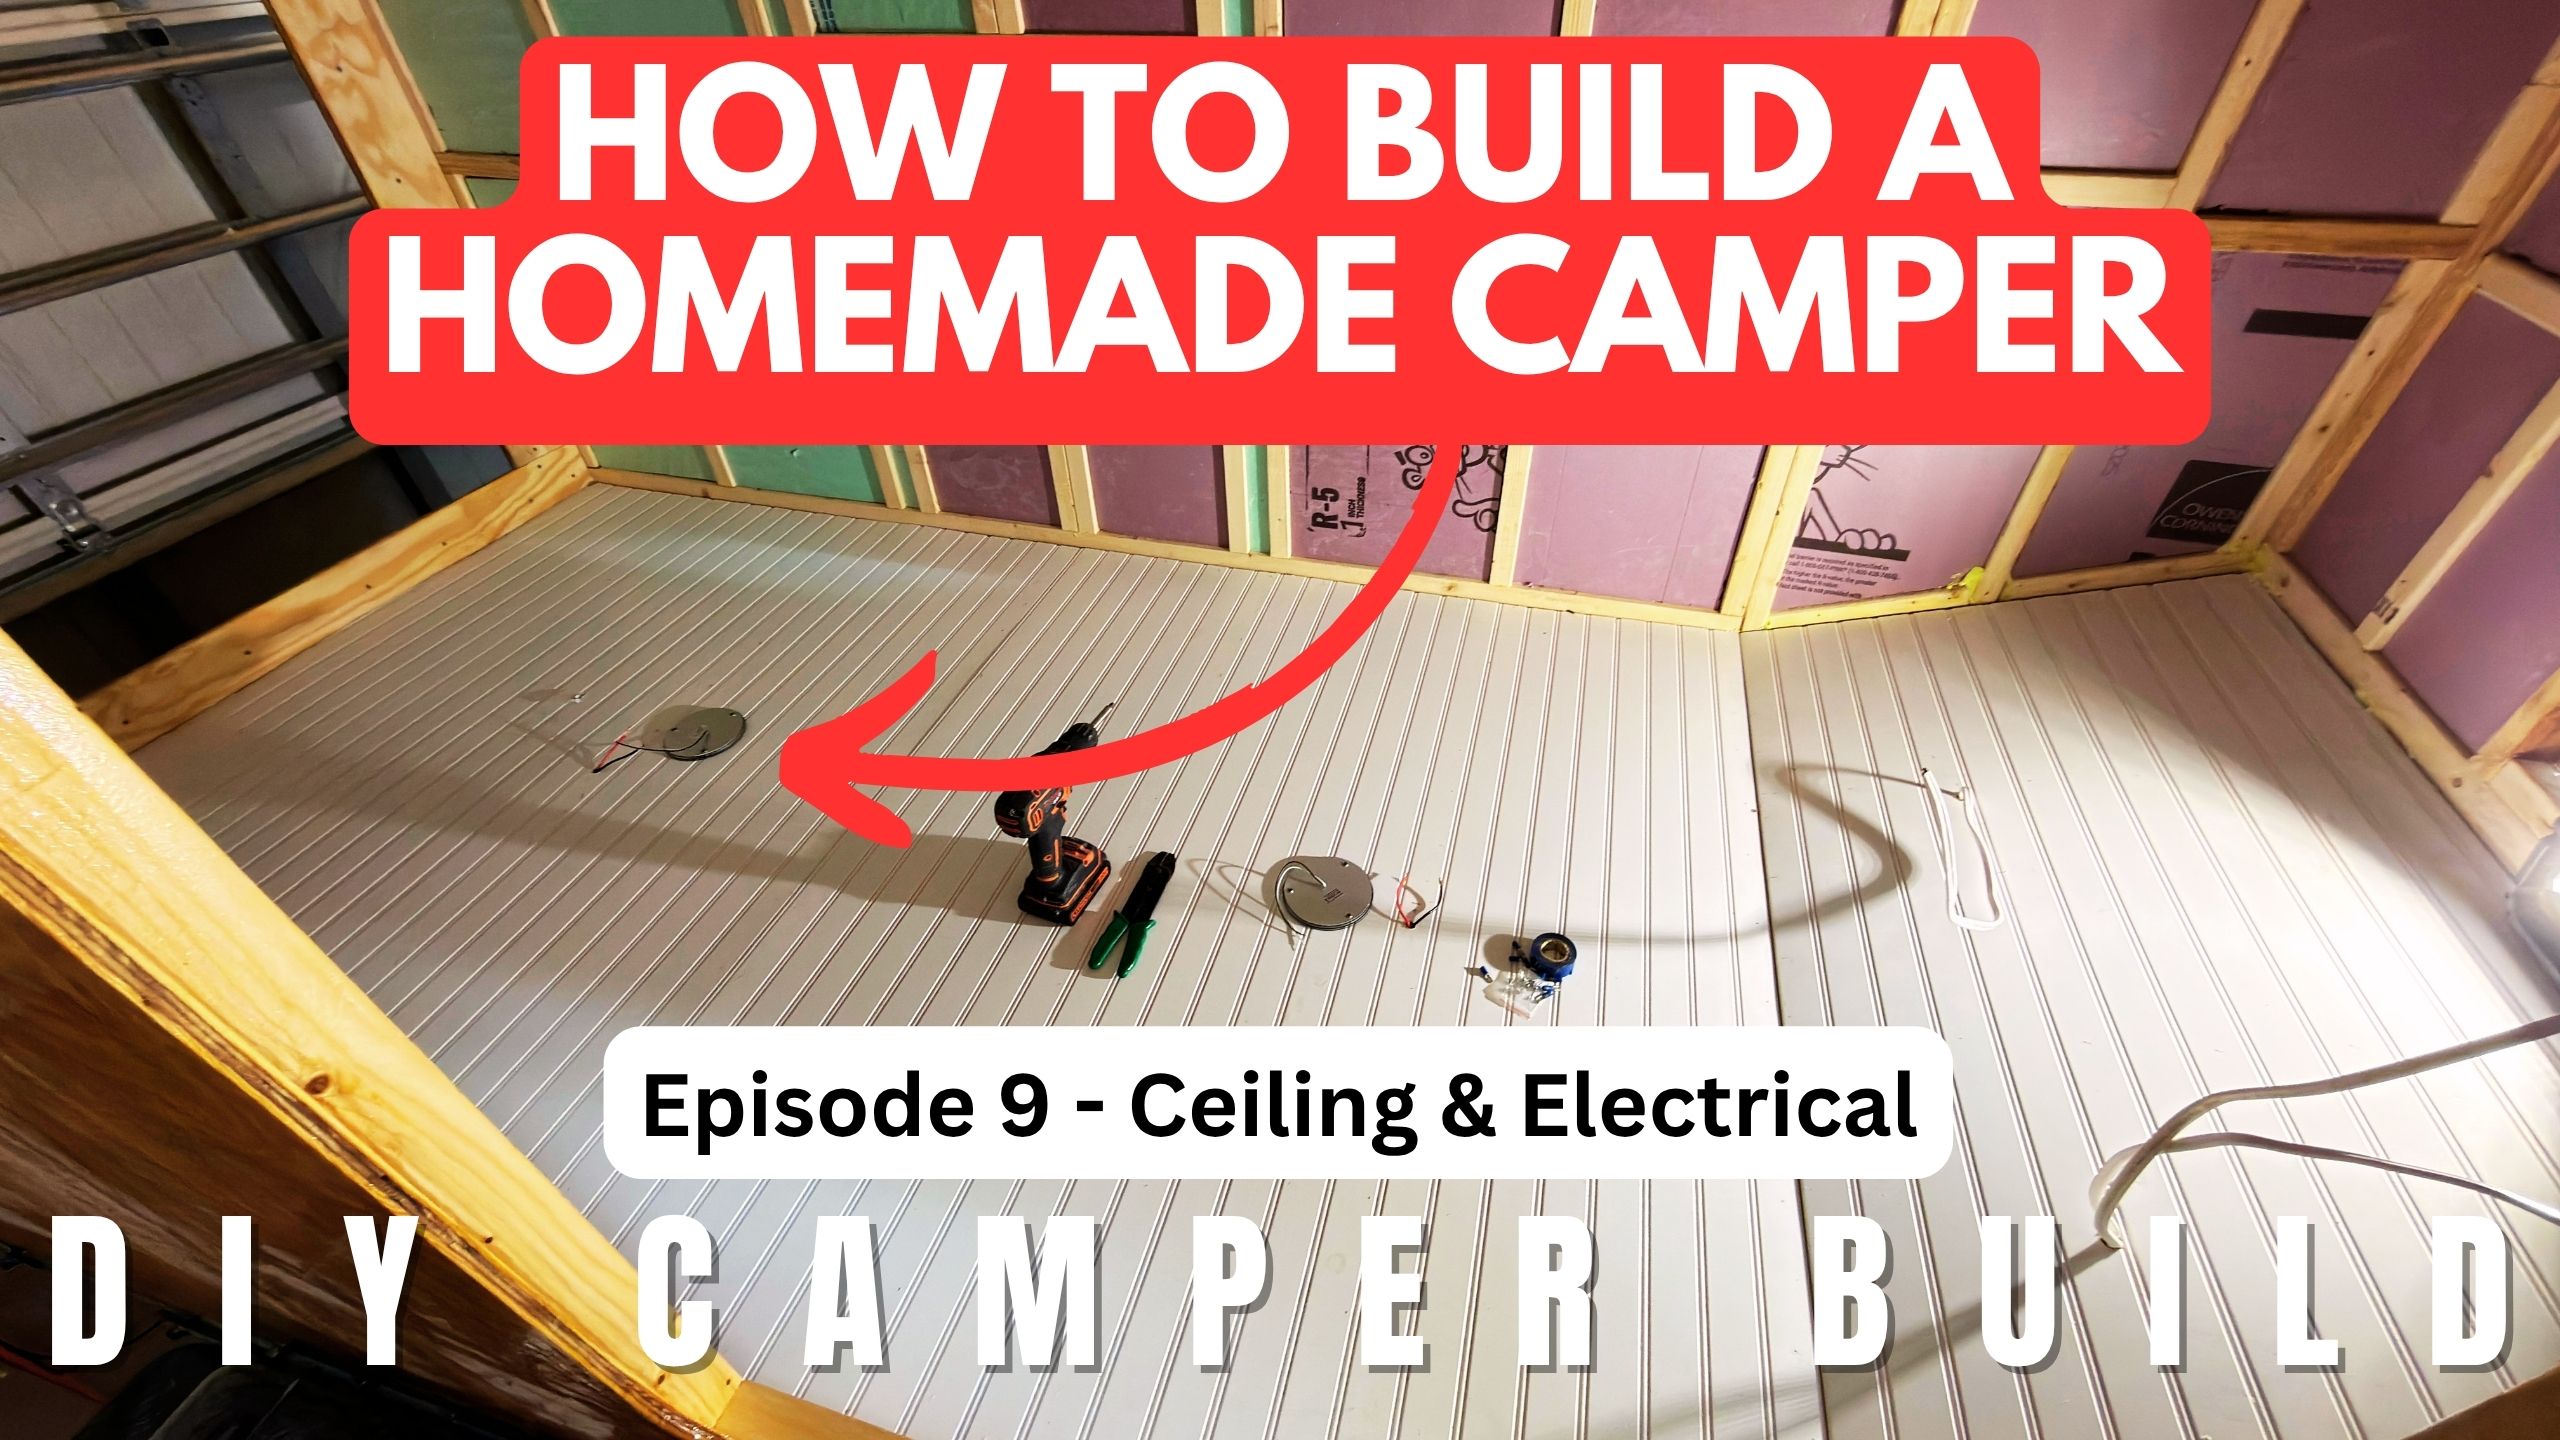
Our homemade camper build is moving inside! In Episode 9, we’re installing the ceiling paneling and working on the electrical wiring in our DIY 5×10 square-drop camper. Our DIY camper ceiling paneling is an important step in finishing the interior while we continue working on the electrical wiring.
After building the trailer, framing the walls and roof, installing the exterior sheathing, and protecting the camper structure, it’s time to make progress on the interior. The ceiling paneling helps give the camper a more finished appearance, while the electrical wiring prepares the interior for its planned lighting and other electrical components.
Watch Episode 9 of Our DIY Camper Build
Join us as we continue building our homemade camper, installing the ceiling paneling and working on the electrical system.
Watch the video: https://youtu.be/3xoPR9xlvm8
DIY Camper Ceiling Paneling Installation
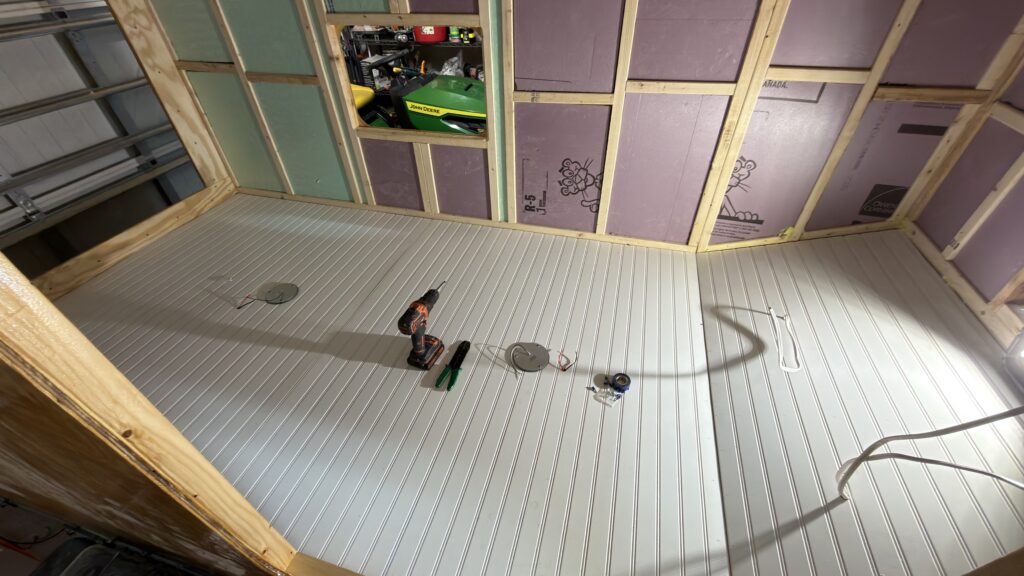
Installing ceiling paneling is an important step in transforming a framed camper into a finished interior space. The ceiling covers the roof framing and helps create a cleaner, more complete look inside our square-drop camper.
When planning ceiling panels for a DIY camper, consider the dimensions of the interior, the location of the roof framing, and how the panels will be supported and secured. Careful measuring and fitting can help produce a neater finish, particularly around corners and transitions.
It’s also important to consider any wiring, lights, or other components that need to pass through the ceiling. Planning these locations before the panels are fully installed can help avoid unnecessary rework later.
The materials and fastening methods should be appropriate for the camper’s construction and the conditions it will experience while traveling.
Working on the Camper Electrical Wiring
Electrical wiring is another major part of this stage of our homemade camper build. Planning the wiring alongside the interior paneling helps coordinate the electrical components with the finished ceiling and walls.
Before covering wiring with paneling, make sure the circuits and connections have been installed, inspected, and tested as appropriate. Keep electrical connections accessible where required, and follow the instructions for the equipment and wiring methods being used.
Wire size, circuit protection, grounding, and connection methods must be selected for the actual electrical loads and system design. Never assume that a wire or breaker is suitable without verifying the requirements.
For a camper that may use both battery power and shore power, the electrical design should account for the different power sources and their associated protection requirements. Work should comply with applicable electrical codes and manufacturer instructions.
Coordinating Ceiling Paneling and Electrical Work
Ceiling paneling and electrical wiring are closely related parts of an interior build. Planning them together can help reduce the need to remove finished panels later.
Before closing up the ceiling, consider:
- Confirming that wiring is routed and secured appropriately.
- Checking the planned locations for lights and other electrical components.
- Ensuring required junctions and service points remain accessible.
- Verifying that panel fasteners will not damage hidden wiring.
- Inspecting the work before covering it with the finished ceiling.
Taking time to check these details can make later installation, troubleshooting, and maintenance easier.
Making Progress on Our DIY Square-Drop Camper
Each stage of this project brings us closer to a functional homemade camper. The ceiling paneling advances the interior finish, while the electrical work helps prepare the camper for future camping trips.
We’re documenting our progress as we build on a Harbor Freight 5×10 Modular Trailer, sharing the different stages of the project so other DIY builders can follow along.
Follow Our Homemade Camper Build Series
Catch up on the earlier stages of our project:
- Building a Harbor Freight 5×10 Trailer for Our DIY Camper Build
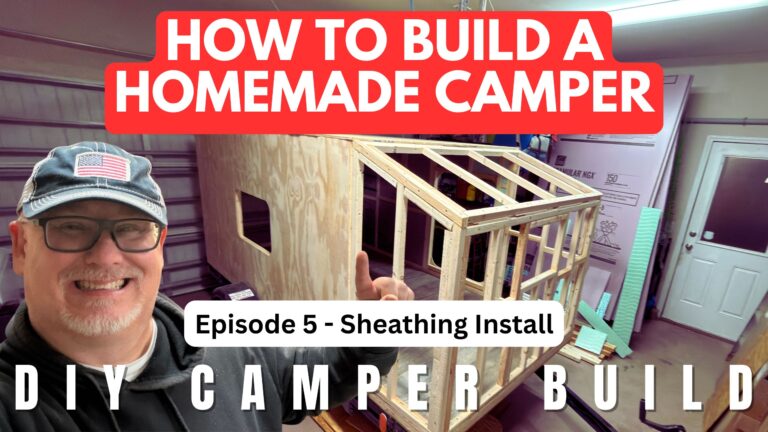
- Building the Floor for Our DIY 5×10 Homemade Camper
- Framing the Walls on Our Homemade Camper Trailer
- Finishing the Wall and Roof Framing on Our Homemade Camper
- Installing Exterior Sheathing on Our Homemade Camper
- Installing Exterior Sheathing and Insulation on Our Homemade Camper
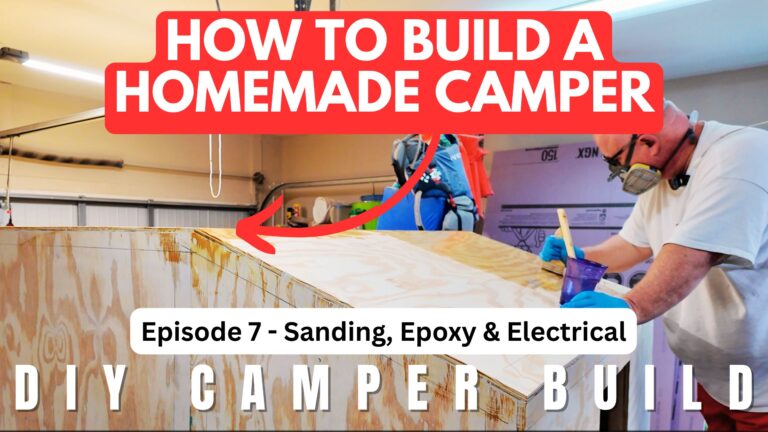
- Homemade Camper Electrical System, Exterior Epoxy and Rear Kitchen Door
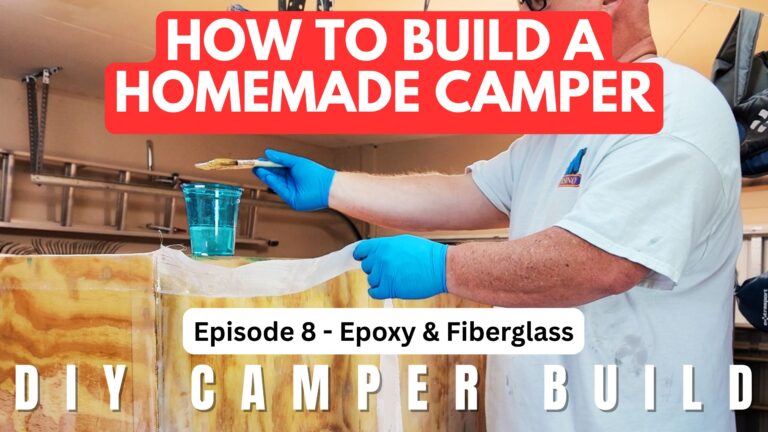
- Fiberglassing the Homemade Camper and Finishing the Bottom
In the next episode, we build our rear kitchen hatch door from scratch for our homemade camper.
Visit our DIY Camper Build page to explore the project and watch more of our build videos.
More Homemade Camper Build Updates
We’re continuing to document our DIY square-drop camper project from the trailer foundation through the interior finishing stages. Follow along to see our progress, learn about the construction process, and get ideas for your own homemade camper.
Watch the video and subscribe to our YouTube channel to follow the next stages of our