Building Our Rear Kitchen Hatch Door from Scratch
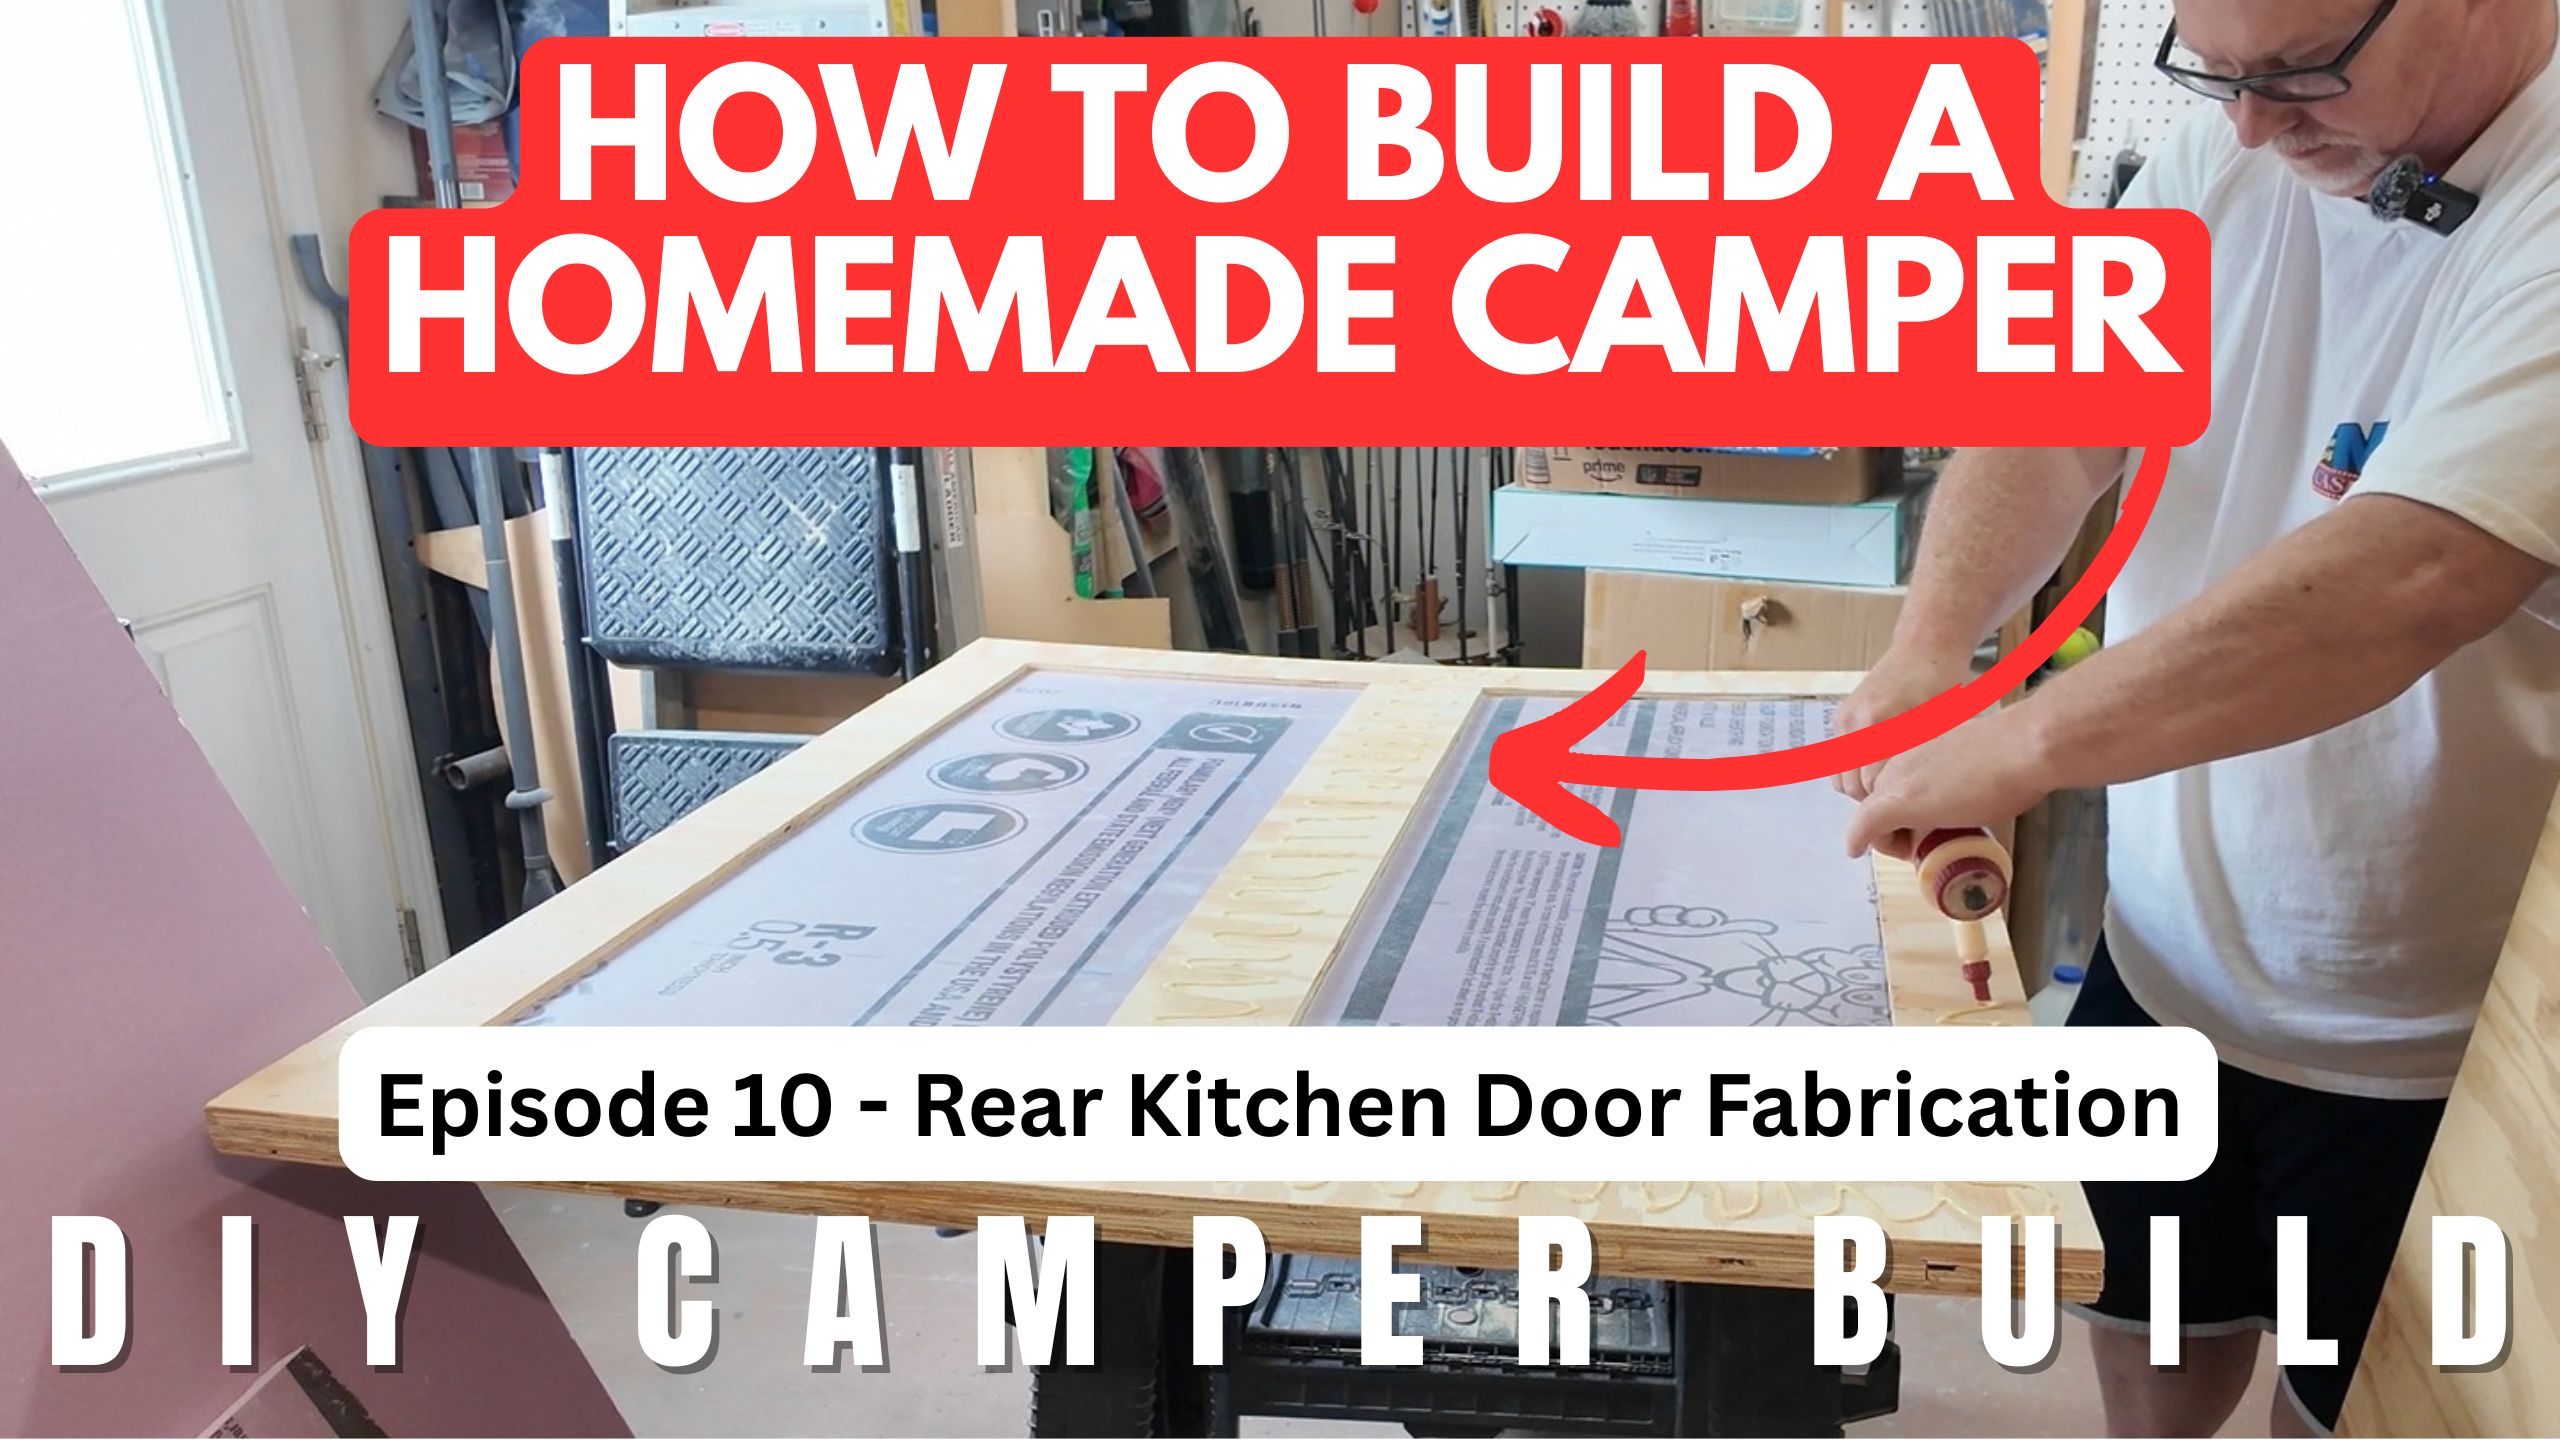
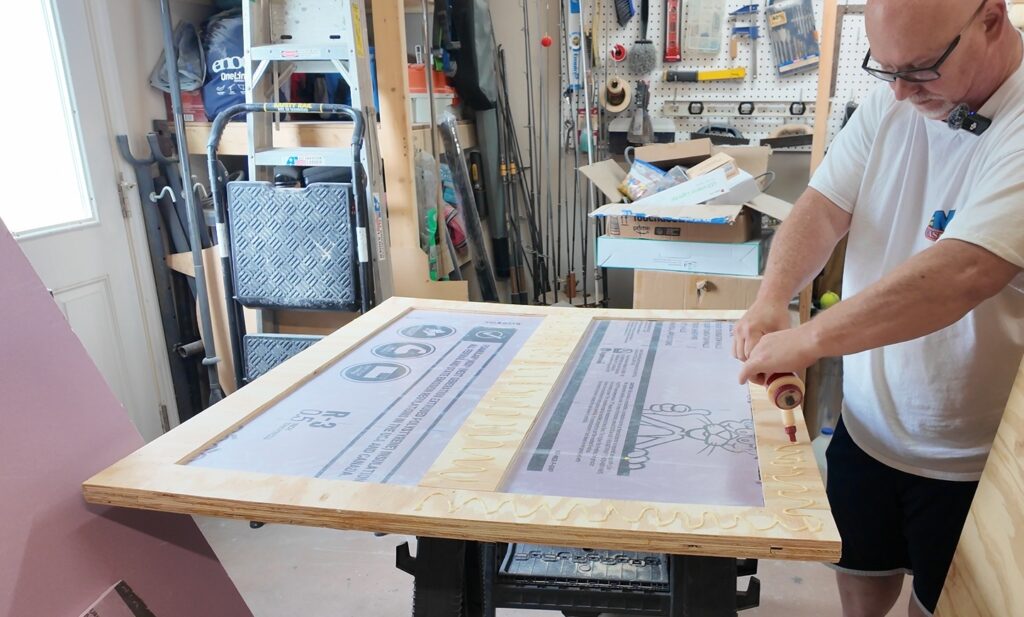
We’re continuing our DIY square-drop camper build! In Episode 10, we’re building the rear kitchen hatch door from scratch for our homemade 5×10 camper. Our DIY camper rear kitchen hatch door is an important part of the square-drop camper design, providing access to the rear kitchen area.
The rear kitchen is one of the defining features of our camper design. The hatch needs to provide convenient access to the galley while fitting the camper’s rear opening and helping protect the kitchen area when closed.
Building the hatch ourselves lets us work toward a design that fits our camper and its layout. In this episode, we focus on making the rear kitchen hatch door as another important step in our homemade camper project.
Watch Episode 10: Building Our Rear Kitchen Hatch Door
Watch the video to follow along as we build the rear kitchen hatch door for our DIY camper.
Watch the video: https://youtu.be/xVMAALKypnY
DIY Camper Rear Kitchen Hatch Door Construction
A rear kitchen hatch is an important component of a square-drop camper. It needs to fit the opening, provide access to the kitchen, and work reliably through repeated opening and closing.
When building a hatch from scratch, start by considering the dimensions of the rear opening and the clearance needed for the door to move freely. The finished hatch should fit the camper without binding against the surrounding structure.
The design also needs to account for the weight of the completed hatch, the hinge arrangement, and how the door will be supported and secured when open and closed.
Careful measuring and test-fitting during construction can help identify alignment issues before the hatch is fully finished.
Planning the Fit and Hinge Arrangement
The hinge is a key part of a rear kitchen hatch. It needs to support the door and allow it to move through its intended range of motion without interfering with the camper body.
Before final installation, consider the hinge’s mounting surface, fastener placement, door clearance, and how the hatch will be held securely when open. The supporting structure and hardware should be suitable for the finished door’s weight and expected use.
It’s also worth checking that the hatch opens and closes smoothly before completing the exterior finish or installing final seals and hardware.
Weather Protection for the Rear Kitchen
Because the rear kitchen is exposed when the hatch is open, weather protection is an important part of the design.
The closed hatch should fit appropriately against the surrounding structure, with suitable sealing and water-management details for the camper’s design. Pay attention to edges, corners, hinge areas, and other places where water could enter.
The materials and finishes used on the hatch should be appropriate for outdoor exposure. Follow the relevant product instructions when applying coatings, adhesives, or sealants.
A well-fitted hatch can help protect the kitchen area and its contents when the camper is parked or traveling.
Making Progress on Our Homemade Camper Build
Building the rear kitchen hatch door is another milestone in our DIY square-drop camper project. Each component brings us closer to a usable camper designed for camping trips and outdoor adventures.
We’re sharing our progress as we build on a Harbor Freight 5×10 Modular Trailer, including the challenges and lessons that come with constructing a camper from scratch.
Follow Our Homemade Camper Build Series
Catch up on the earlier stages of our project:
- Building a Harbor Freight 5×10 Trailer for Our DIY Camper Build
- Building the Floor for Our DIY 5×10 Homemade Camper
- Framing the Walls on Our Homemade Camper Trailer
- Finishing the Wall and Roof Framing on Our Homemade Camper
- Installing Exterior Sheathing on Our Homemade Camper
- Installing Exterior Sheathing and Insulation on Our Homemade Camper
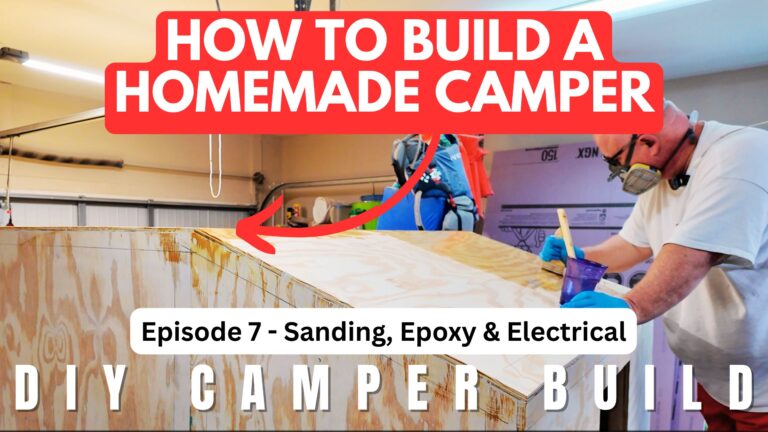
- Homemade Camper Electrical System, Exterior Epoxy and Rear Kitchen Door
- DIY Camper Build Episode 8: Fiberglassing the Homemade Camper and Finishing the Bottom
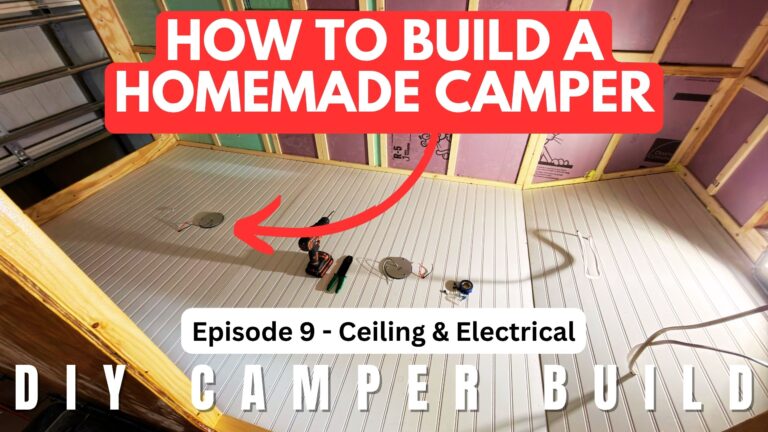
- DIY Camper Build Episode 9: Ceiling Paneling and Electrical Wiring
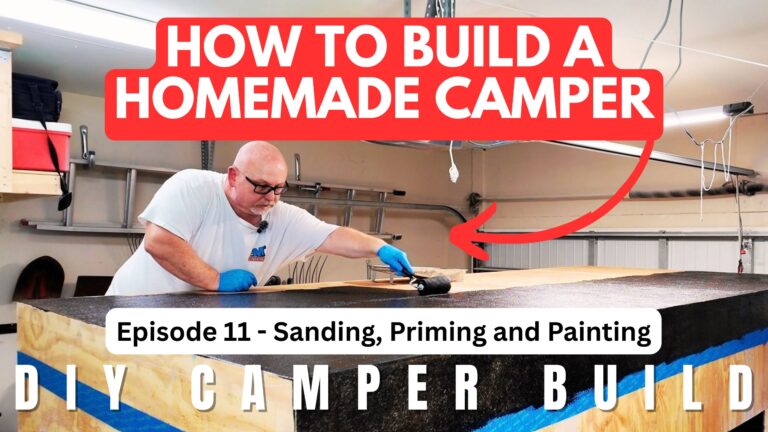
In the next episode, we sand, prime, and paint our homemade camper.
Visit our DIY Camper Build page to explore the project and watch more of our build videos.
More Homemade Camper Build Updates
We’re documenting the process of building our own square-drop camper one stage at a time. Follow along to see how the project develops, learn about the different construction stages, and get ideas for your own homemade camper.
Watch the video and subscribe to our YouTube channel to follow the next steps in our camper build.