Installing Exterior Sheathing on Our Homemade Camper
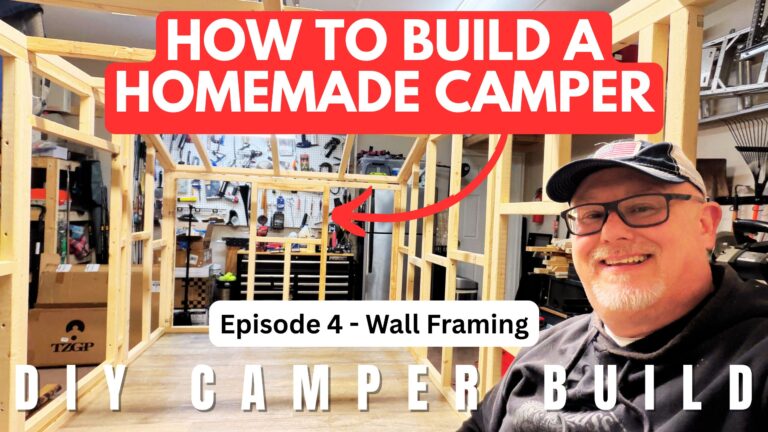
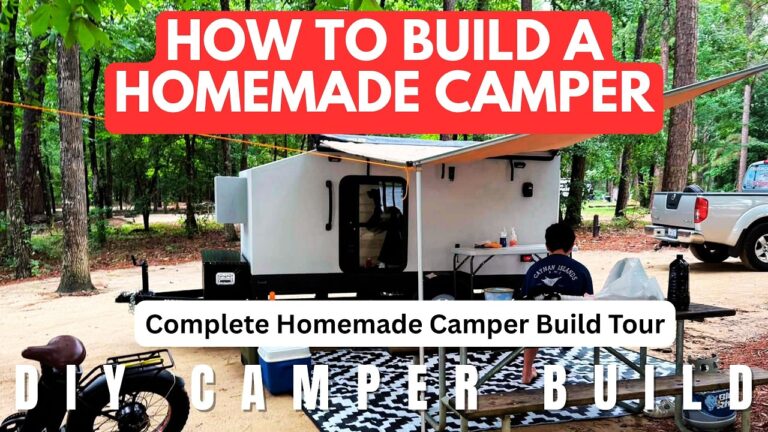
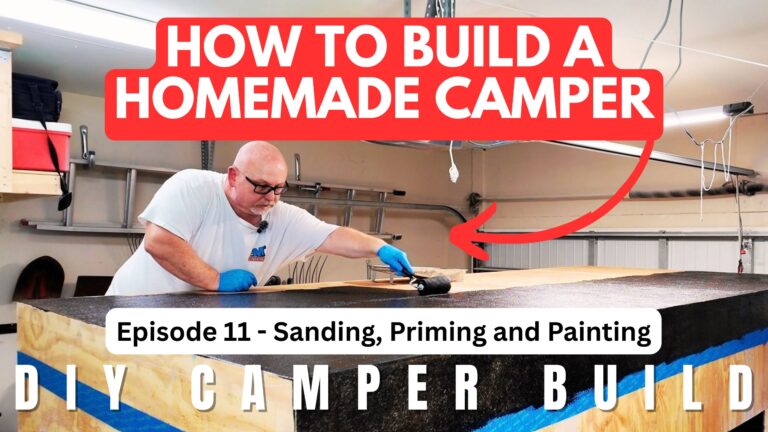
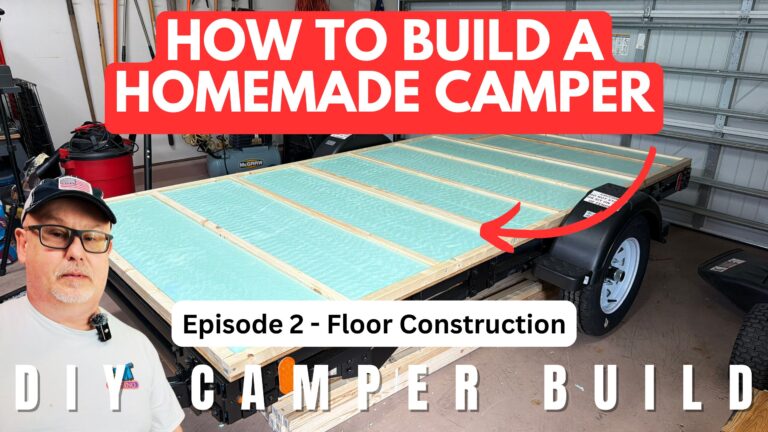
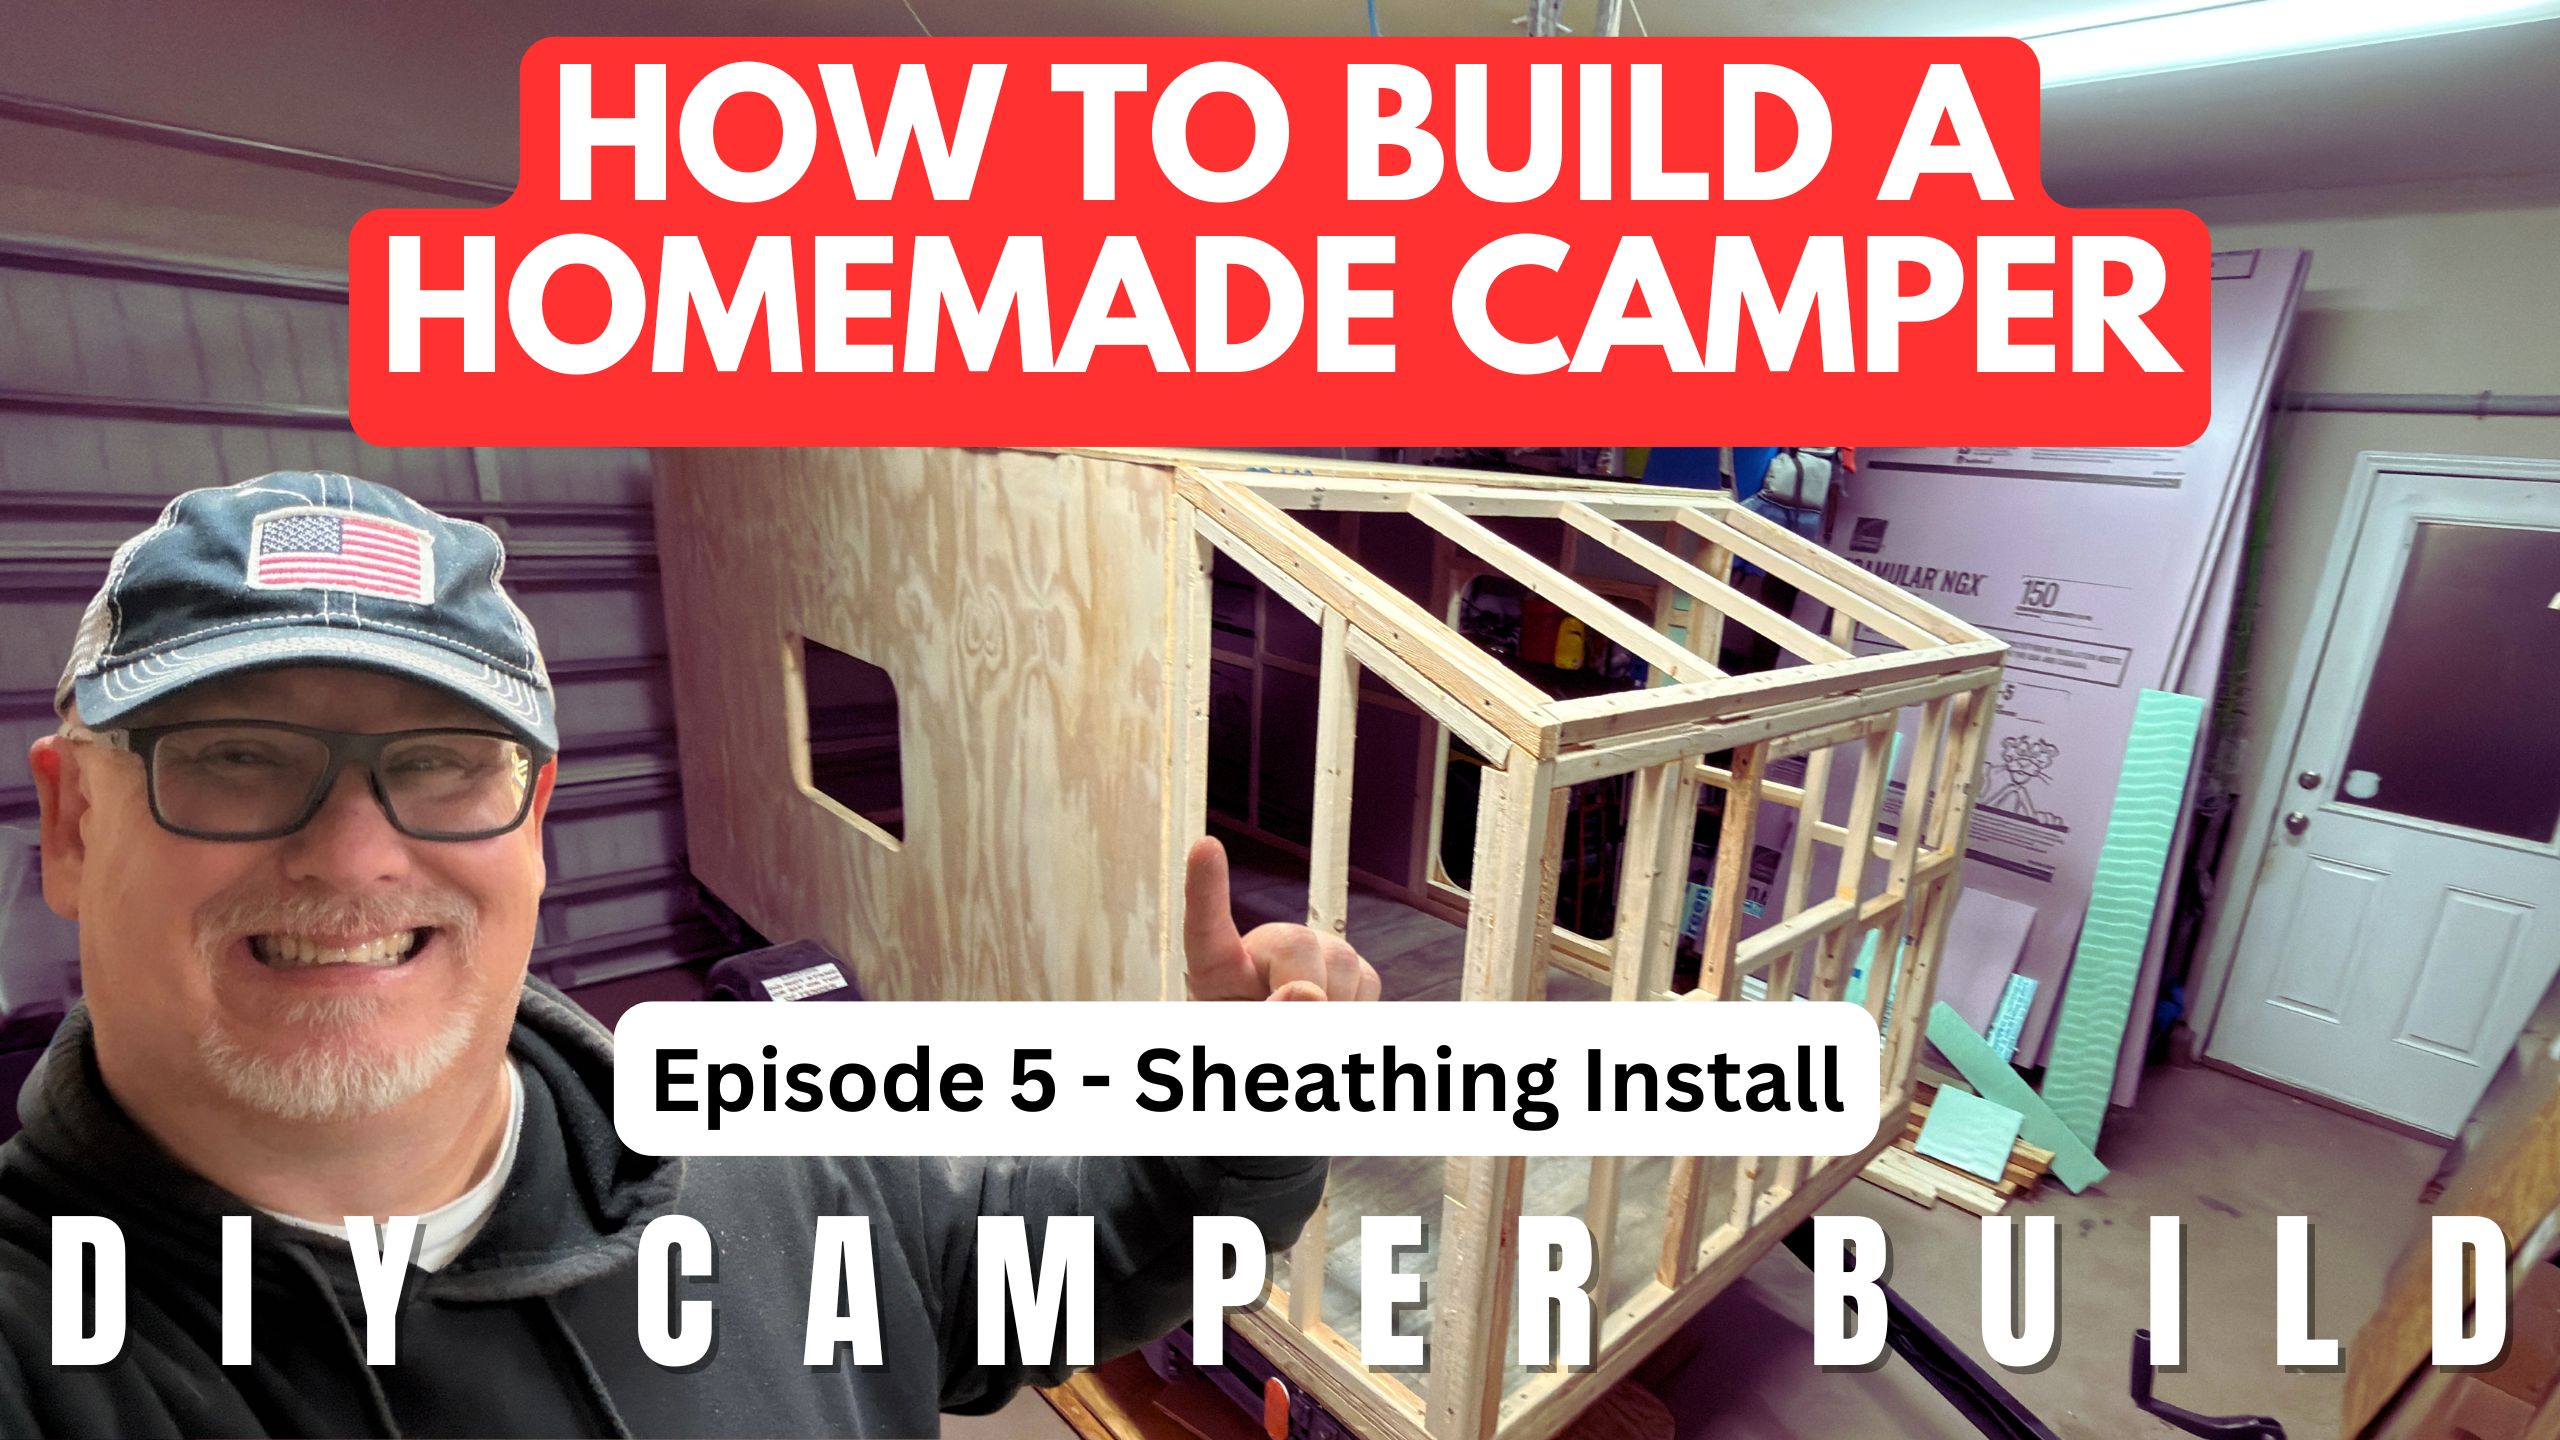
Our DIY square-drop camper is continuing to take shape! After building the floor, framing the walls, and completing the wall and roof framing, it’s time to move on to the next stage: installing the exterior sheathing. Installing DIY camper exterior sheathing is an important step in turning our framed structure into a finished homemade camper.
We’re documenting our homemade camper build on a Harbor Freight 5×10 Modular Trailer, sharing the progress and lessons learned as we work toward a finished camper for our camping adventures.
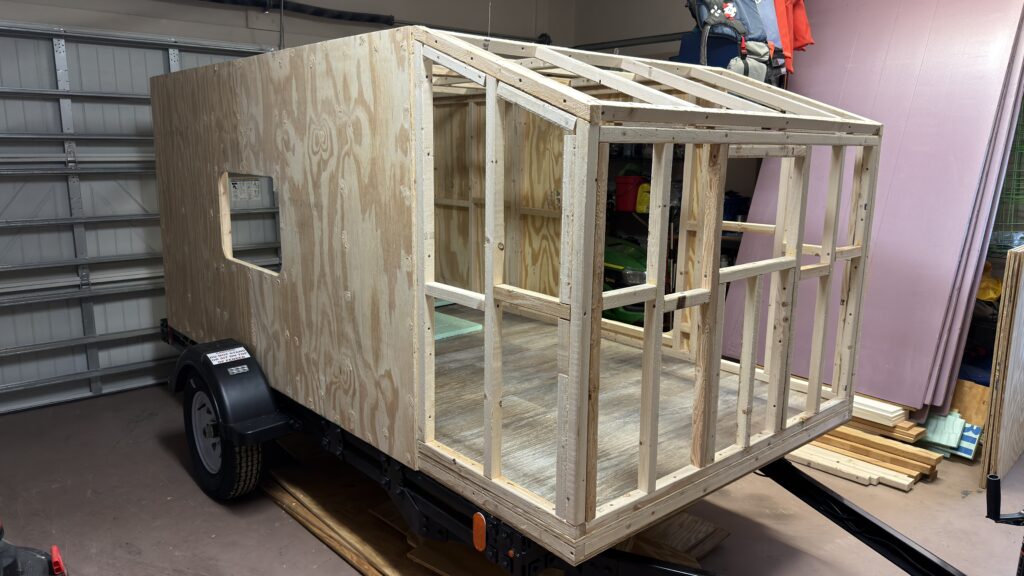
Watch Our Exterior Sheathing Installation
In Part 5 of our DIY camper trailer build, follow along as we install the exterior sheathing on our homemade camper. Watch the video to see this stage of the project and how the exterior begins to come together.
Video: https://youtu.be/1MfnYbj4yg0
If you’re planning your own camper build, use our project as a reference while checking your own measurements, material specifications, trailer weight limits, and construction requirements.
DIY Camper Exterior Sheathing: Why It Matters
Exterior sheathing forms the outer surface over the camper’s framing and helps prepare the structure for later finishing work. The material, attachment method, and preparation should be appropriate for the camper’s design and intended use.
When planning exterior sheathing for a homemade camper, consider:
- Accurate measurements: Measure the framed surfaces carefully before cutting panels.
- Panel layout: Plan panel placement and seams to suit the framing and the finished exterior.
- Secure attachment: Use fastening methods appropriate for the materials and structure.
- Openings and edges: Plan carefully around doors, windows, corners, and other openings.
- Moisture protection: Consider how seams, edges, and penetrations will be sealed and protected against water.
- Weight: Account for the sheathing and all other materials when calculating the completed camper’s total weight.
These are general planning considerations. Follow the material manufacturer’s instructions and appropriate construction practices for your particular design.
Our DIY Camper Exterior Takes Shape
Installing the exterior sheathing is another milestone in our homemade camper project. With the floor, walls, and roof framing completed, we’re making progress toward the next stages of finishing and protecting the camper body.
We’ll continue documenting the build so you can follow the project from the trailer foundation through the finishing work and our camping adventures.
Continue Following Our Homemade Camper Build
Start with our Harbor Freight 5×10 trailer build, then follow the camper floor build, wall framing, and wall and roof framing.
Visit our Camper Build page for an overview of the project and more videos.
Follow HomemadeCamper.com as we continue building our DIY square-drop camper and preparing it for future camping adventures.