Finishing the Wall and Roof Framing on Our Homemade Camper
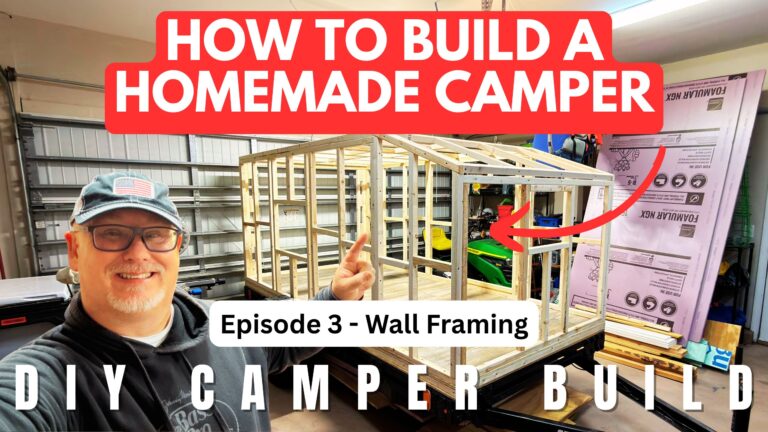
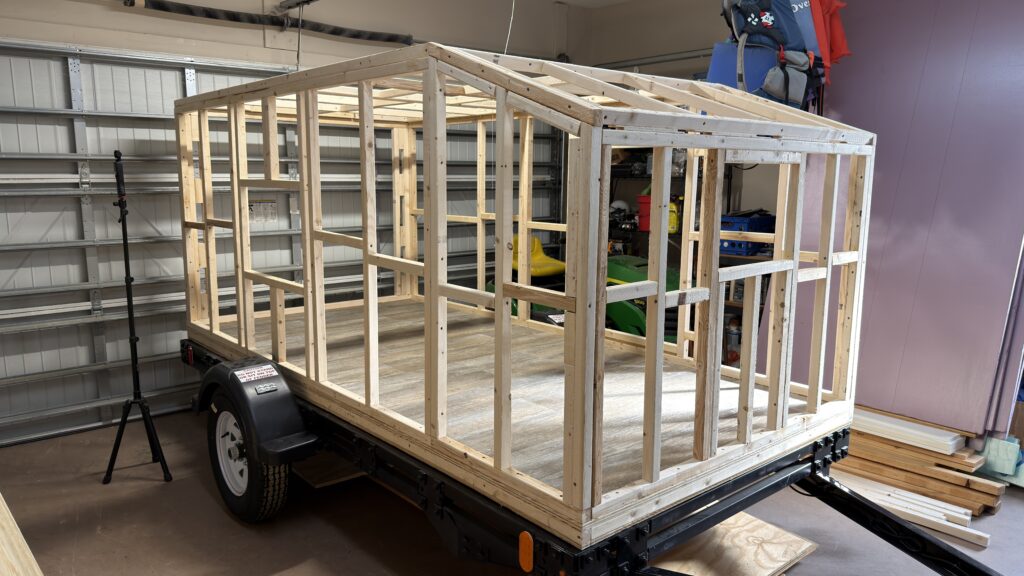
Our DIY square-drop camper is starting to take shape! After building the floor and beginning the wall framing, we’re moving on to the next stage of our homemade camper project: finishing the wall framing and completing the roof frame. Our DIY camper roof framing is an important step toward completing the structure of our homemade square-drop camper.
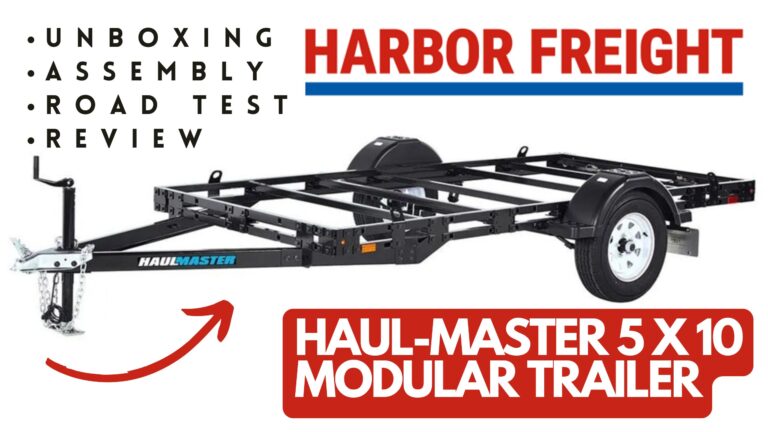
We’re documenting our build on a Harbor Freight 5×10 Modular Trailer to show the progress, share our experience, and help others researching a DIY homemade camper build.
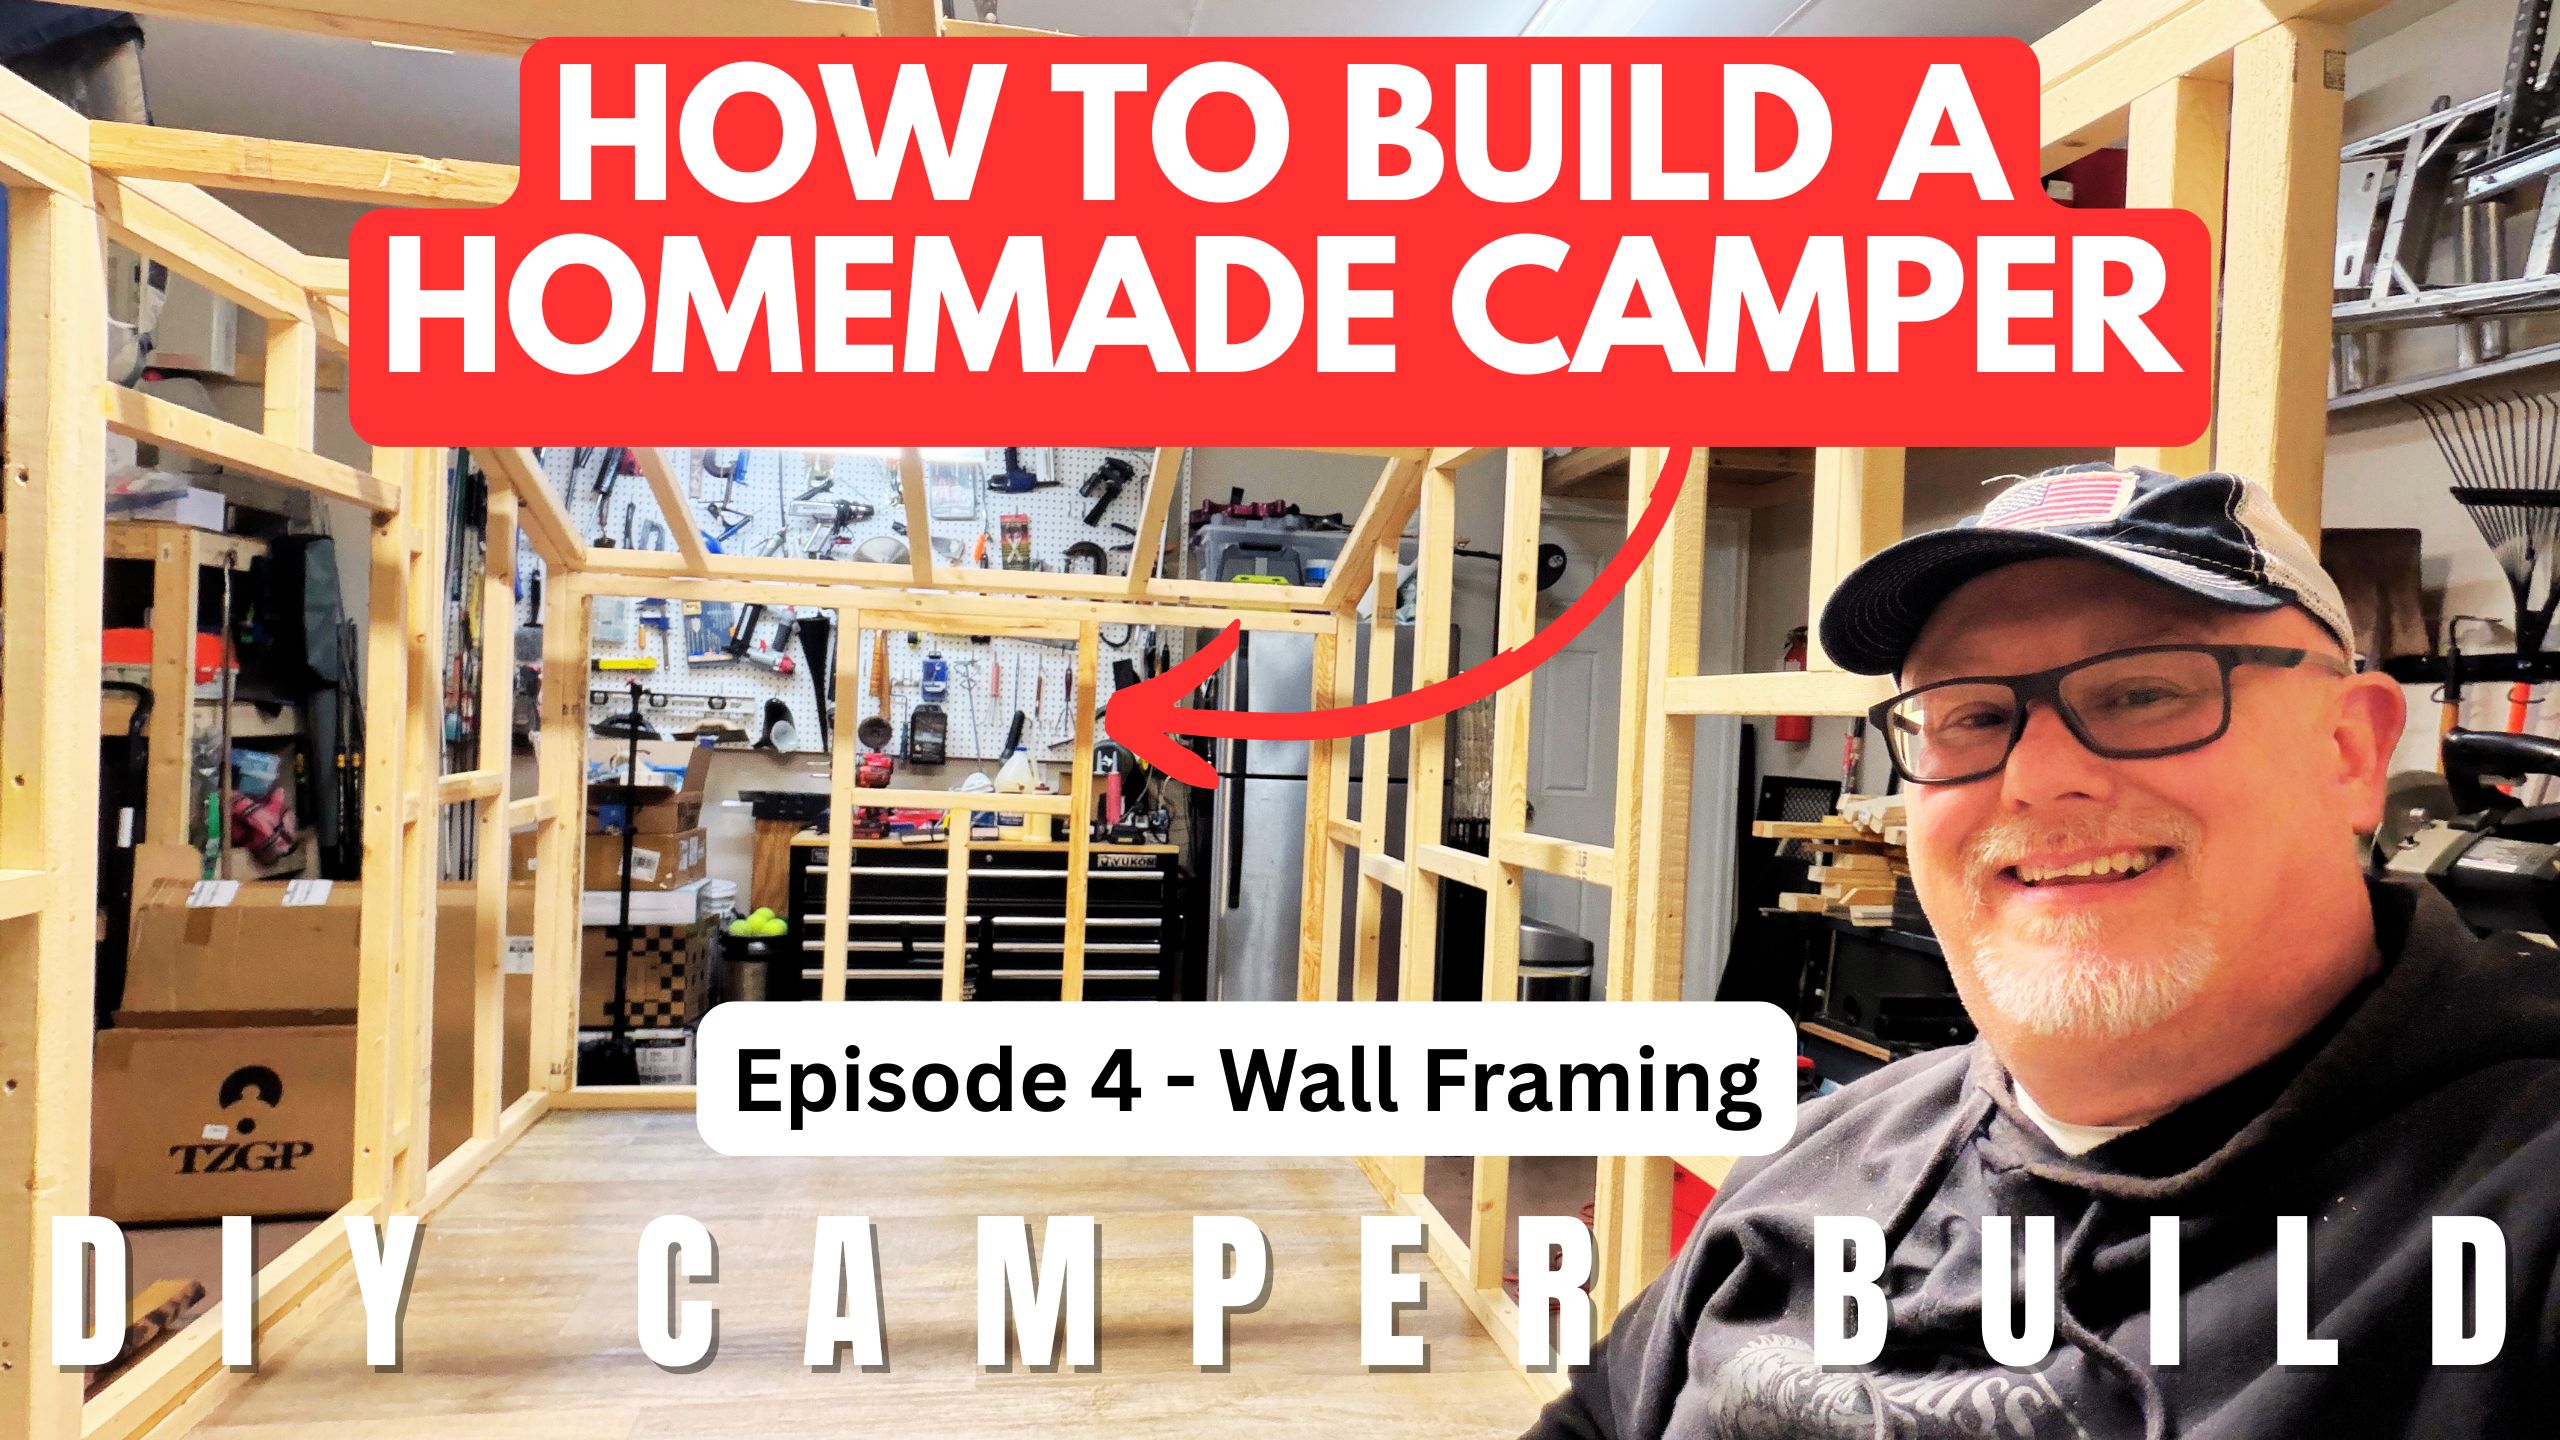
Watch Our Wall and Roof Framing Video
In this video, follow along as we finish the wall framing and work on the roof framing of our homemade camper. Watch the latest stage of the project and see how the camper structure is coming together.
Video: https://youtu.be/Vnyi4O4v2hY
Every camper project is different, so use our build as a reference rather than a substitute for planning your own dimensions, materials, structural connections, and trailer weight limits.
Finishing the Wall Framing
Completing the wall framing is an important step in establishing the camper’s overall shape. The wall structure needs to work with the floor and planned roof while allowing for the exterior sheathing and interior finish.
When planning your own homemade camper walls, consider:
- Checking the wall layout and dimensions against the camper floor.
- Planning any door, window, or other openings before the framing is completed.
- Considering how the walls will connect to the floor and roof.
- Allowing for the thickness of the exterior sheathing and interior materials.
- Keeping the completed camper’s total weight within the trailer’s rated limits.
DIY Camper Roof Framing
The roof framing is another major milestone in a square-drop camper build. It establishes the structure for the roof and prepares the camper for later construction and weatherproofing.
When planning a DIY camper roof, consider the intended roof shape, material thickness, attachment points, clearance, and how the roof will be protected against water intrusion. The design should be suitable for road travel and the conditions in which you plan to camp.
Our Homemade Camper Build Continues
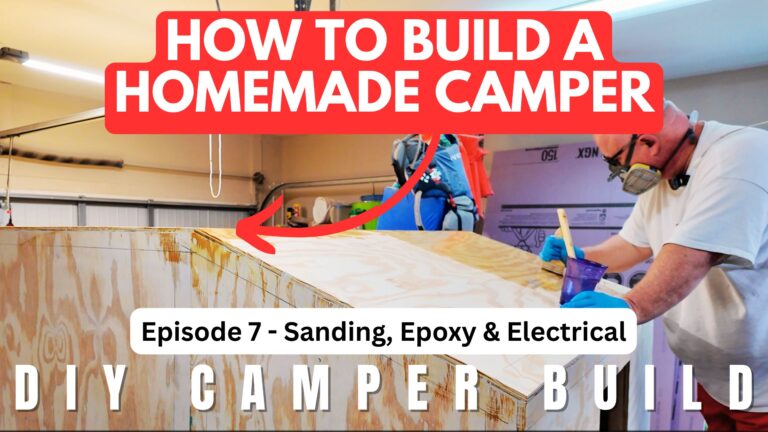
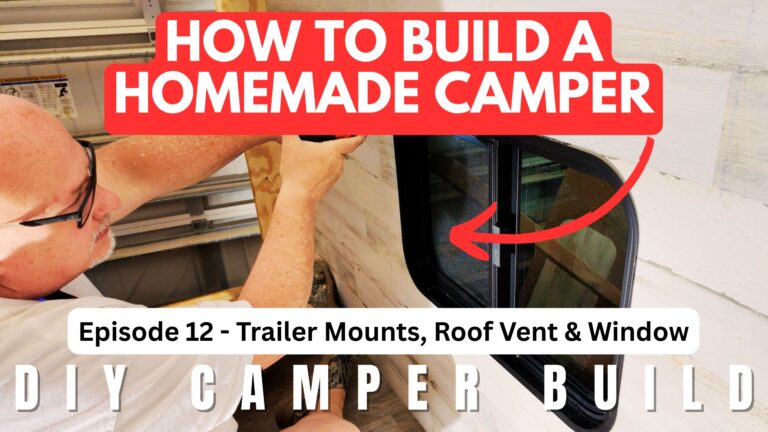
We’re building this camper one stage at a time, documenting the process from the Harbor Freight trailer and floor through the wall and roof structure. Each stage brings us closer to a completed camper for our camping adventures.
Follow along as we continue building, finishing, and preparing our homemade camper for real-world use.
Continue Following Our DIY Camper Build
Start with our Harbor Freight 5×10 trailer build, then read about building the camper floor and framing the camper walls.
Visit our Camper Build page for an overview of the project and more videos.
Follow HomemadeCamper.com as we continue sharing our DIY square-drop camper build and the adventures that follow.